Showing posts with label Stencil. Show all posts

Saturday, April 8, 2023

Problem Solving With Mud

 At first glance, this table I picked up at a yard sale appears to be in good condition. It's one of those pieces that some would say, "It's real wood. Why are you painting that?" Well, first of all, some pieces just look better painted. Second, some pieces have issues & painting them is the best option to save them from the dump.

Upon further inspection, I found that this table had a lot of issues that needed attention. The top was not only scratched, it had large patches of white areas.

And, then there's the drawer pull. I like vintage pulls & try to use them when I can. But this one was missing the ring that hangs down to pull the drawer open. So the only way to open it was to grab the sides of the drawer & pull. So, I knew it had to be replaced.


Not only did I have holes left behind from the screws, the drawer pull left an uneven finish. The best way to fix it? Dixie Mud.

I started by filling the holes left from the screws.

To hide the uneven finish, I decided to do a raised stencil on the front of the drawer using the Lotus Bloom stencil from the Dixie Belle Paint Company.

I held the stencil in place then went over it with the Dixie Mud.


I pulled the stencil up while the mud was still wet, then allowed it to dry overnight. 

Once dry, I gave the mud a light sanded to remove any uneven areas or peaks.

I was using Dixie Belle's acrylic based paint, Silk, on this piece. Silk requires a light scuff sanding. After sanding, I decided better safe than sorry, so I also did 2 coats of Slick Stick on the base of the table. Slick Stick helps paint adhere better to slick or shiny surfaces.

I waited 24 hours after applying the Slick Stick, then painted the base of the table with the color, Hampton Olive.

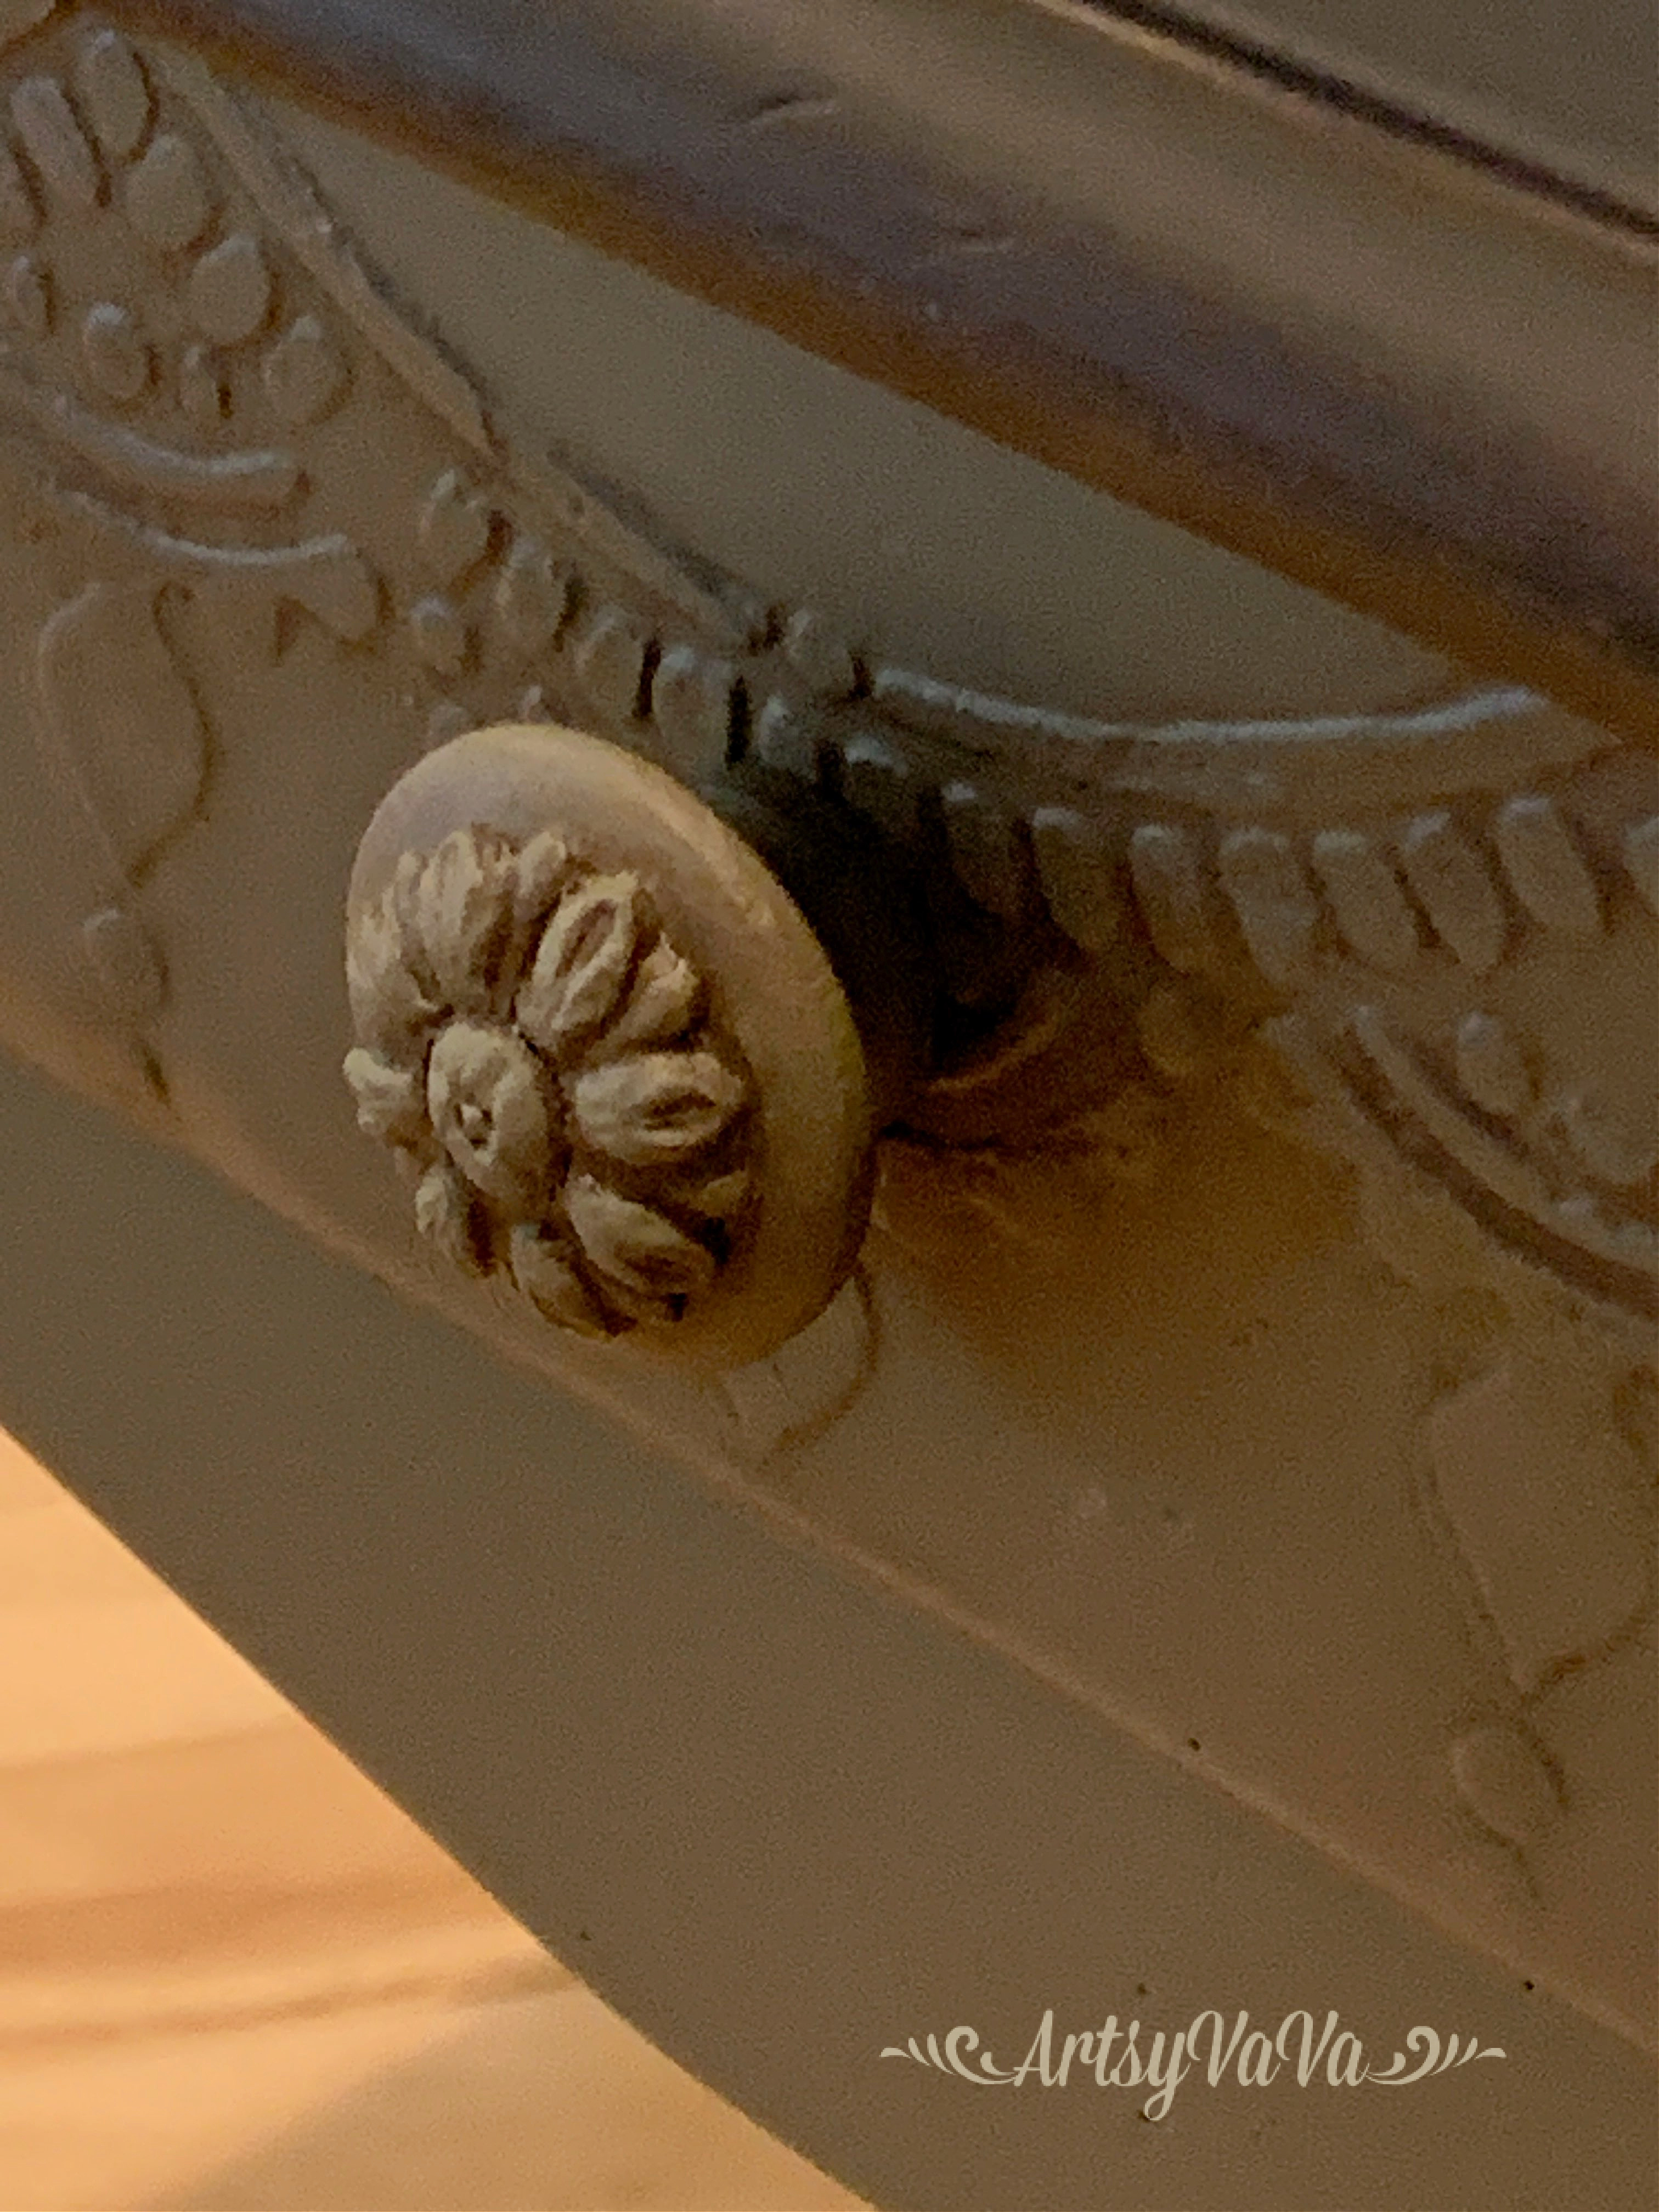
Since I had to replace the original drawer pull,  I grabbed a mold & air dry modeling material from Re*design With Prima, created a medallion, & glued it onto a wooden knob. 

After painting the knob with Hampton Olive, I drilled a new hole for the pull, & added it to the drawer. I used Dixie Belle's water based Voodoo Gel Stain in the color, Tobacco Road, to accentuate the raised detail on the drawer & the knob. I did this by painting the stain on, then wiping it back with a damp rag.

For the top of the table, I used Dixie Belle's oil based No Pain Gel Stain in the color, Walnut. No Pain Gel Stain can be applied directly over a factory finish. I did 3 coats waiting 10 hours between each coat. It completely covered those white patches. 


I sealed the top with Dixie Belle's Gloss Clear Coat.
Silk has a built in sealer, so I did not seal the painted base.

Another piece saved from the dump!


Linking To:

Sunday, February 12, 2023

Slikscreen Stencil Valentine

 I love it when an experiment turns out how I envisioned. This is one of those projects. Unfortunately, there are plenty that didn't. But, that's how you learn, right?

This project not only worked out how I wanted, but was super easy & quick!

I love working with the air dry Modeling Material from Re*design With Prima. Typically, I use it with their molds. But, in this case I wanted to create hearts & didn't have a heart shaped mold. I did, however, have heart shaped cookie cutters.


After rolling the modeling material out with a rolling pin, I cut 2 different sizes of hearts with my cookie cutters.
Another of my favorite things to work with are the Silkscreen Stencils from the Dixie Belle Paint Company. For this project I chose the Mandala design. Each pack has 3 different sheets of designs.


 The screen helps prevent the paint from bleeding under the stencil so you get a crisp image. But, I had no idea how it would work doing it on the modeling material while it was still soft.
I placed the sticky side of the stencil on the heart, then scraped on the chalk mineral paint color, Peony, from Dixie Belle.

When I peeled up the stencil, I was excited to see that it worked perfectly.


Now my mind is spinning with all the ways to use these. I have them on the table riser on my kitchen table. But while soft, they could be glued onto candles, vases, artwork...

The possibilities are endless!


Linking To:

Friday, February 3, 2023

Mixed Media For Valentines Or Anytime

 What do you think of when you think of Valentine's Day? For me, it's flowers & candy. This mixed media project includes flowers, but not candy... I'm on a diet! And, the colors make it perfect to keep displayed year round.


I started by painting a 10" x 7" wooden heart with the color Fluff from the Dixie Belle Paint Company.

I cut a piece of decoupage tissue paper from Re*design With Prima, called Zoey, to fit across the top of the heart. I applied the tissue paper to the heart using Dixie Belle's Clear Coat, but you could use ModPodge.


I used a 120 grit sandpaper to remove the excess paper. I placed the sandpaper at a 45 degree angle to the edge of the heart & used a downward motion to sand off the paper.


I stenciled a design on the rest of the heart using the color, Gravel Road. I like to use a makeup wedge to stencil. I off loaded most of the paint to prevent the paint from bleeding under the stencil. I could've added a second coat to get good coverage, but I wanted more of an irregular, worn finish.


I added two greenery stems, from Prima, by putting a little glue at the base of the stems. 


I placed a floral cardboard sticker at the top of the greenery. I didn't trust that the sticky back would hold, so I added some glue.

I glued two flowers onto the heart, letting them come off the edge of the heart.

I added a pretty butterfly cardboard sticker to the flowers.


I could've stopped there and it would've been fine, but let's keep going!

I added a second butterfly & another cardboard sticker that says, "Bee-you-tiful" to complete the Valentine.


You can use any colors for this project, so if you're not a fan of red & pink in your decor, you can pick colors that work for you.


Just about anything goes at my house. Can you tell I like color?


Linking To:

Tuesday, March 29, 2022

Bunny Trail Sign DIY

 Living in the country, there's no shortage of rabbit sightings. So, I don't need a sign to tell me where the bunny trail is, but I couldn't resist creating this cute sign for Easter.


I started with a wooden sign blank from Signopoly.


I wanted a vintage feel for the sign so I gave it a crackle finish. I wanted the cracks to be dark, so I first painted the sign with the color, Gravel Road, from the Dixie Belle Paint Company.


Once the paint was dry, I added a layer of Crackle medium. The crackle medium is very thick, so it needs to dry overnight.

The next day, I painted over the crackle with the color, Tea Rose. The cracking starts to happen pretty quickly, so the key to being successful with crackle is to not overwork it. If you go back and forth with the paintbrush, you will fill in the cracks as they begin to form. So, I load my brush & go as far as I can with one smooth stroke.


I created the design in Cricut Design Space. There was not an arrow that went well with the font I used so I created one by turning 3 I's & a V on their side & joined them together.


I made a stencil with my Cricut Maker by cutting my design out using adhesive backed vinyl. I placed the stencil on the sign, then used a makeup sponge to apply the color, Coffee Bean. I used a pouncing motion to apply the paint.


I used very little paint to ensure that the paint didn't bleed under the stencil. The first coat always looks bad...


It took 3 coats for perfect coverage...


It's time to be on the lookout for the Easter bunny to come hopping down the bunny trail!


Linking To:
Related Posts Plugin for WordPress, Blogger...