Sunday, February 21, 2021

Copper Patina Chalkboard DIY

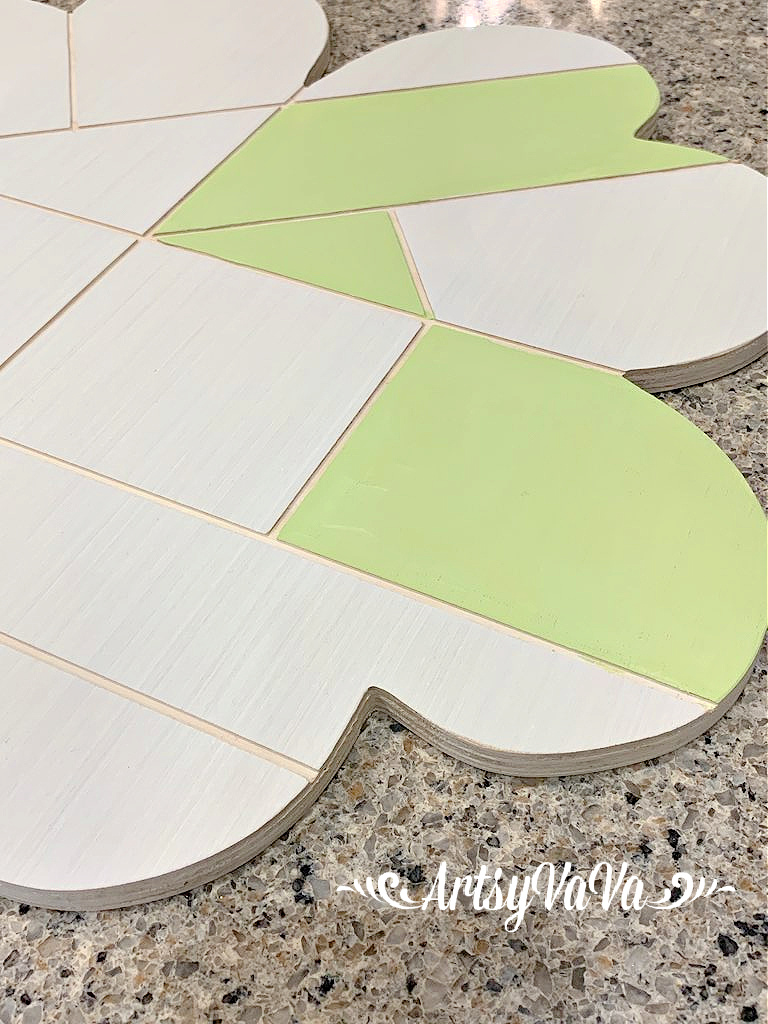
 I love the shape of this wooden board from Signopoly, so I ordered some to make signs...

But, when I first unboxed them, I thought they'd also make great chalkboards. They're the perfect size for a kitchen. And, the outer portion was perfect for making the chalkboard unique with Dixie Belle Paint Company's Patina Collection.

Caviar was the perfect color for my chalkboard, & the patina paint needs a base coat of paint, so I gave the entire board a coat of Dixie Belle's chalk mineral paint color, Caviar. 

Before adding more coats of Caviar to complete the chalkboard, I painted the outer section of the chalkboard with Copper Patina Paint. 
I painted one coat of the patina paint & let it dry. Then I painted a second coat, & while it was wet, I sprayed it with the Green Patina Spray. There are metal particles in the paint that react with the spray to create the patina.
The reaction between the patina paint & spray begins to happen right away, but can take up to 6 hours to finish reacting.

Once I had sprayed the patina paint, I completed the chalkboard section. I wiped off any spray that was on the Caviar paint. To create a chalkboard with chalk mineral paint, I painted 3 coats of Caviar allowing time to dry between each coat. The first coat was vertical, the second was horizontal, & the third was vertical.

Once the paint was dry, I conditioned the chalkboard by rubbing the side of a piece of chalk over the Caviar. This will prevent a halo being left behind each time you erase the chalkboard.

Once I had conditioned the chalkboard, I wiped it back with a rag.
As an afterthought, I added a Scrabble tile tray to hold the chalk. I have since made another chalkboard with the patina that creates rust & I glued the tray on before I painted.

I love the look of the copper patina!
In the end, I didn't hang the chalkboard in my kitchen. I hung it by my front door. I have a doormat that says, "I hope you brought wine" & I thought this was appropriate...


Linking To:

Thursday, February 11, 2021

Quilted Clover


I love changing my front door for every season. So, I was very excited when I received this 4 leaf clover from Signopoly. I'm only a wee bit Irish, but I still love to decorate for St. Patrick's Day.

There are grooves cut into the wood, so I painted some of the sections with the color, Limeade, from the Dixie Belle Paint Company.

Dixie Belle has a new line of silkscreen stencils in their Belles & Whistles line. This was the perfect project to try them out on. I chose to use the Mandala set. Each pack comes with 3 sheets of stencils. There are several designs on each sheet & you get approximately10-12 uses out of each one.

 I placed the sticky side down over the Limeade when it was dry, & stenciled on the color, Evergreen.


The silkscreen gives you a nice crisp design.


My plan was to use the stencil in random places, but I loved it so much that I decided that every section would get stenciled! So I continued on.


I painted the remaining sections with Evergreen & the Moonshine Metallics color, Gold Digger.

When using the metallic, it works best with a similar color underneath as a base. So, I used the color Colonel Mustard before painting Gold Digger. However, I did not need a base color when I used it on the stencil.


Do you decorate your door for every season?

While I was at it, I used the Limeade, Evergreen, & Gold Digger, along with the color Daisy to do a paint pour on another clover. And, of course, I added a little green & gold glitter to this one.

Linking To:
Related Posts Plugin for WordPress, Blogger...