Showing posts with label Signopoly. Show all posts

Friday, April 15, 2022

Preppy Peony Paint Pour


If you lived through the preppy era, then you'll remember that pink & green were very popular colors. And, when I was deciding on what to do with this wooden egg cutout from Signopoly, I decided to NOT go with the traditional Easter pastels & go preppy.


I wanted to combine a paint pour along with a decoupage paper. I used painters tape to divide the egg is half so that the paint from the pour wouldn't flow where I was going to put the paper.


I wanted to use the Peony Pattern Rice Paper from the Dixie Belle Paint Company's Belles & Whistles line & picked the colors I felt went best with it...
Peony, Soft Pink, Limeade, & Caviar.
I mixed the paint with Floetrol Paint Additive to thin them out & help them flow.

I began layering the colors in different areas of the egg.

I tilted the egg in different directions until the paint covered the top section of the egg.

I gave the paint overnight to dry, then pulled off the tape. 

The tape did its job perfectly & no paint seeped underneath.

I applied the rice paper using ModPodge, then went over it with a brayer to smooth it out.

I sanded the edges of the egg to remove the excess paper.

I added Tacky Glue between the paint & the paper...

Then I added a ribbon. 


The preppy peony Easter egg...


Linking To:

Tuesday, March 29, 2022

Bunny Trail Sign DIY

 Living in the country, there's no shortage of rabbit sightings. So, I don't need a sign to tell me where the bunny trail is, but I couldn't resist creating this cute sign for Easter.


I started with a wooden sign blank from Signopoly.


I wanted a vintage feel for the sign so I gave it a crackle finish. I wanted the cracks to be dark, so I first painted the sign with the color, Gravel Road, from the Dixie Belle Paint Company.


Once the paint was dry, I added a layer of Crackle medium. The crackle medium is very thick, so it needs to dry overnight.

The next day, I painted over the crackle with the color, Tea Rose. The cracking starts to happen pretty quickly, so the key to being successful with crackle is to not overwork it. If you go back and forth with the paintbrush, you will fill in the cracks as they begin to form. So, I load my brush & go as far as I can with one smooth stroke.


I created the design in Cricut Design Space. There was not an arrow that went well with the font I used so I created one by turning 3 I's & a V on their side & joined them together.


I made a stencil with my Cricut Maker by cutting my design out using adhesive backed vinyl. I placed the stencil on the sign, then used a makeup sponge to apply the color, Coffee Bean. I used a pouncing motion to apply the paint.


I used very little paint to ensure that the paint didn't bleed under the stencil. The first coat always looks bad...


It took 3 coats for perfect coverage...


It's time to be on the lookout for the Easter bunny to come hopping down the bunny trail!


Linking To:

Monday, December 27, 2021

DIY House Number Sign

 I am fortunate to know a few people in the construction business who give me things before they go on the burn pile. Sometimes the fire is already lit & I have to act fast! Recently I was given some beautiful old molding that came out of a house before a remodeling job. It was perfect for creating my new house number sign.

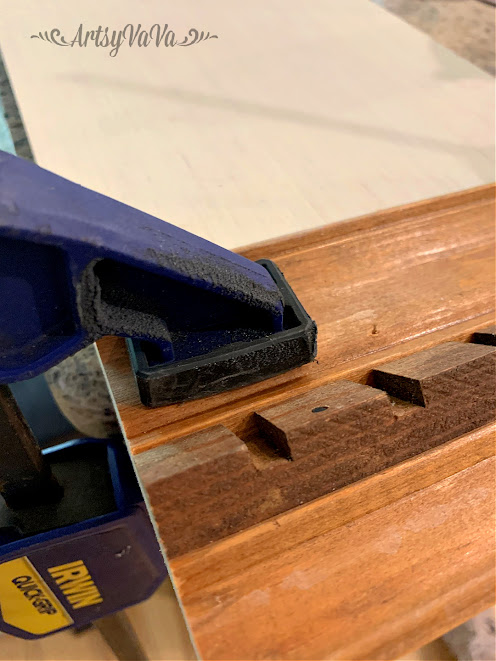
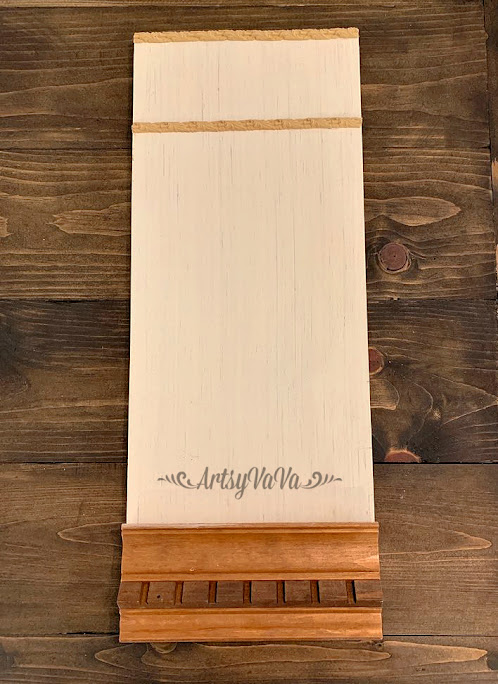
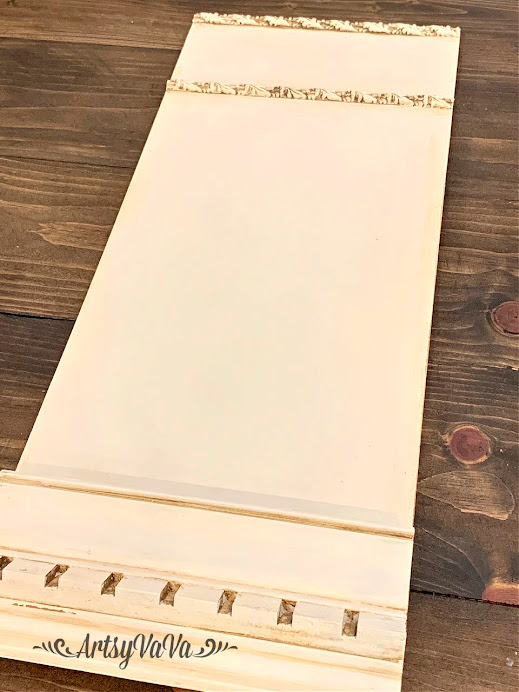
I cut the molding to get a piece that was 8" long, then glued and clamped it to an 8" x 20" sign blank from Signopoly. I allowed it to dry overnight.
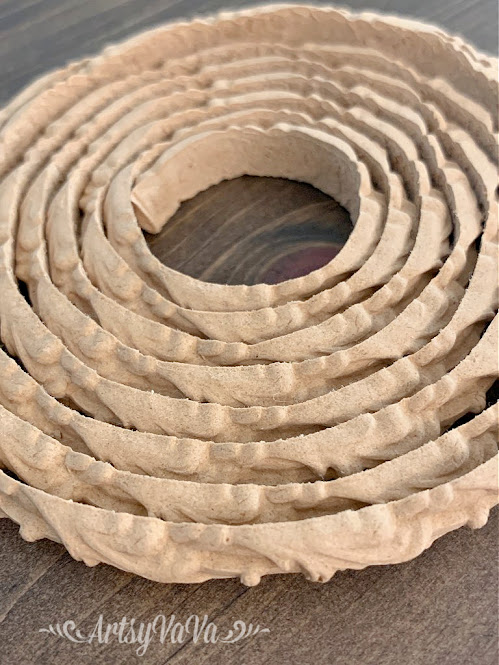
I grabbed some of my WoodUBend trim to add to my sign. The trim is very brittle, but once you add heat to it, it becomes flexible.

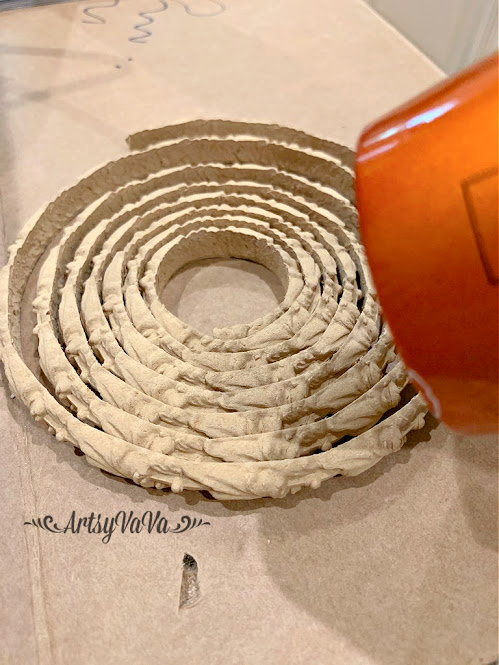
You can use a heat gun on the WoodUBend, but it also works well with a hair drier. I put my hair drier on the HOT setting & warmed the trim until it was pliable.
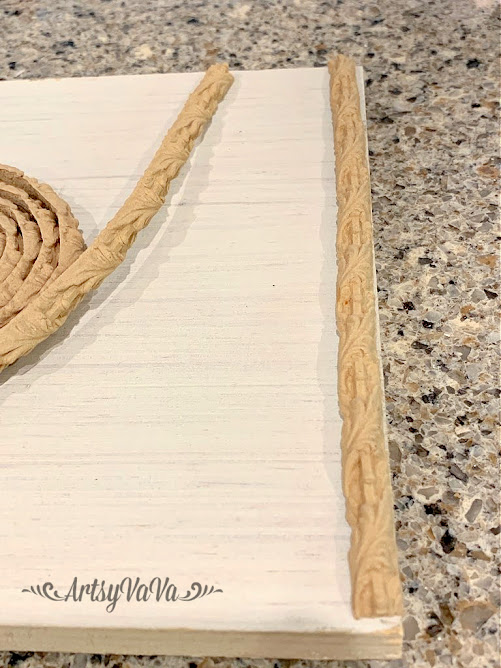
Using an Xacto knife, I cut two sections of the trim to fit across the sign. 
I glued them onto the board using E6000.
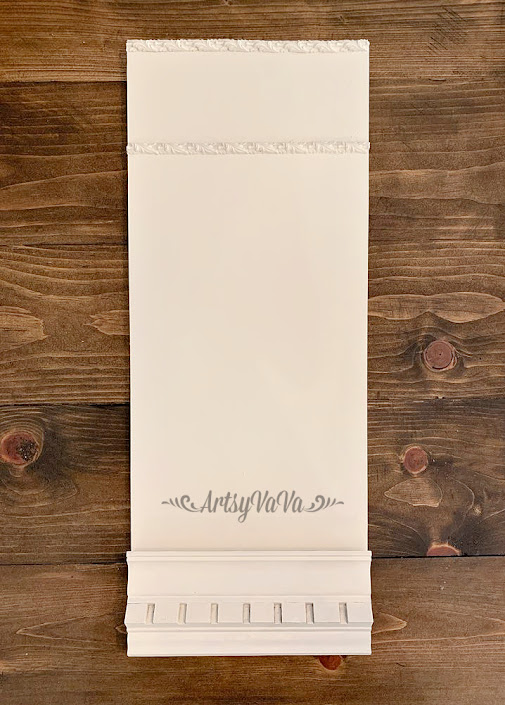
I painted the entire piece with the color, Fluff, from the Dixie Belle Paint Company. I did 2 coats for good coverage.

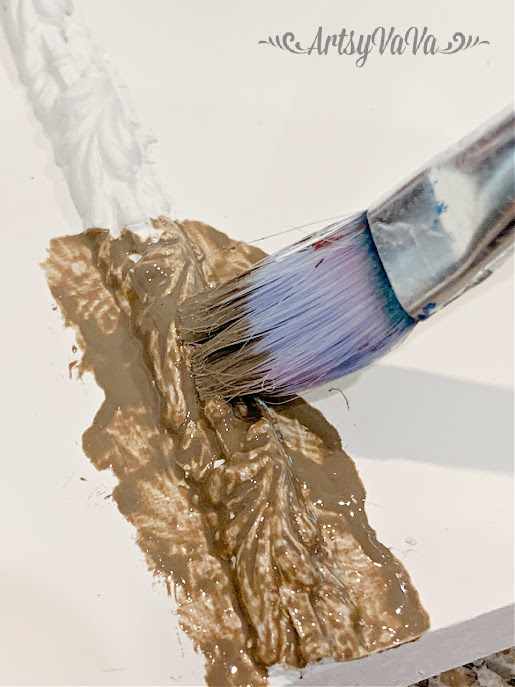
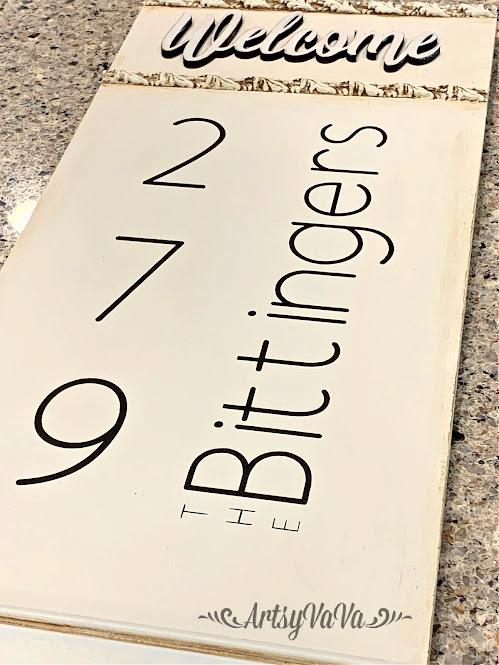
To accentuate the details of the trim & molding, I added Dixie Belle's glaze using the color, Van Dyke Brown. I painted the glaze on heavy to ensure it got down into all the grooves of the trim & molding.
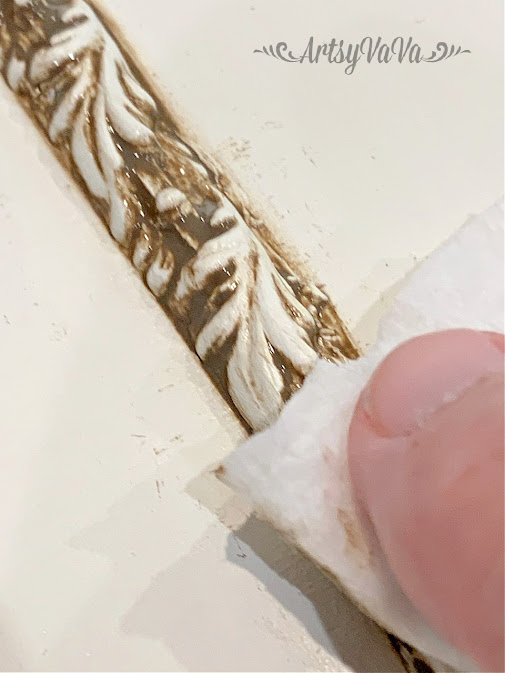
I used a damp rag to wipe away the excess glaze.

I added more glaze to the board so there wouldn't be such a stark contrast between the "dirty" trim & bright white board.

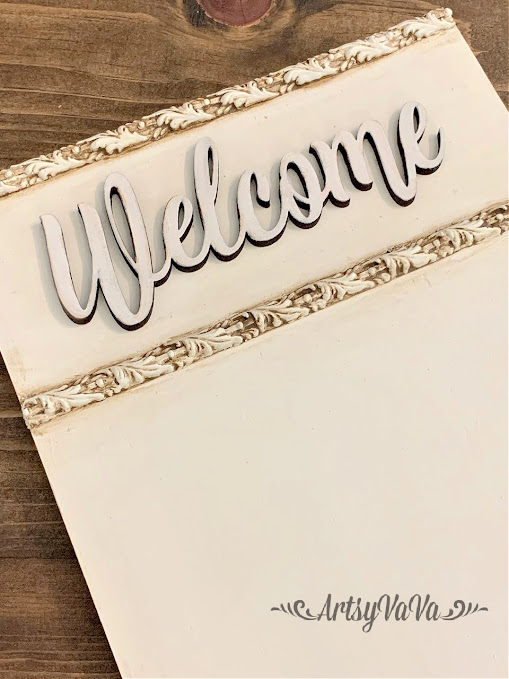
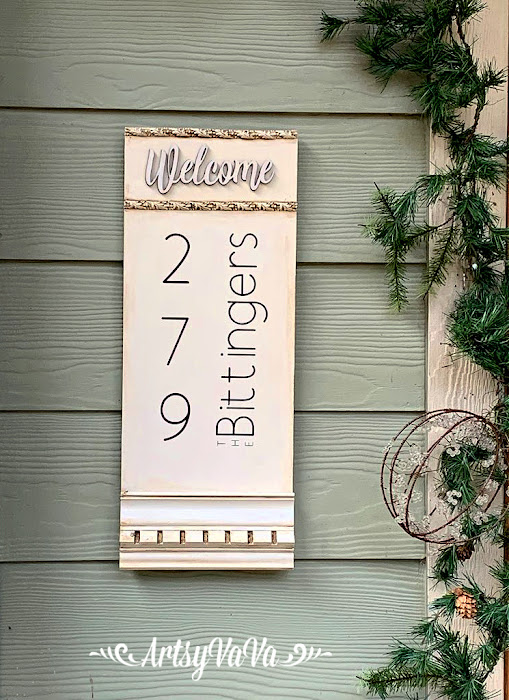
I painted a wooden "Welcome" from Signopoly with the color, Fluff. The laser cutter leaves the edges of the cutout dark. I was careful not to paint over the edges so I would have the contrast between the welcome & the board. I glued the welcome onto the board between the 2 pieces of WoodUBend trim using E6000.
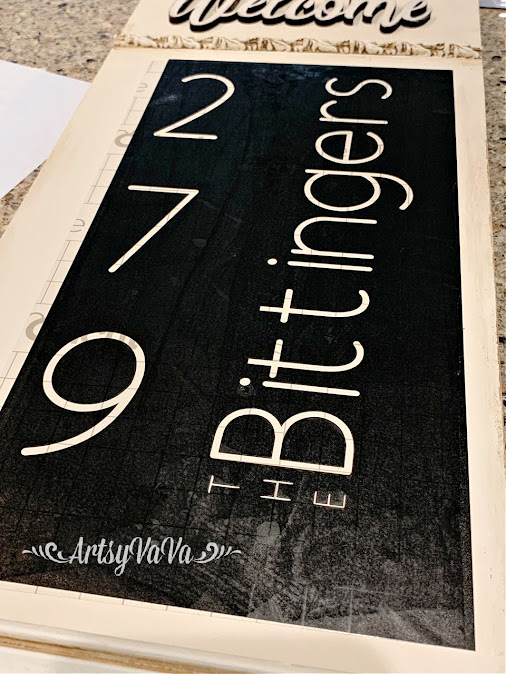
I made a vinyl stencil using my Cricut Maker.
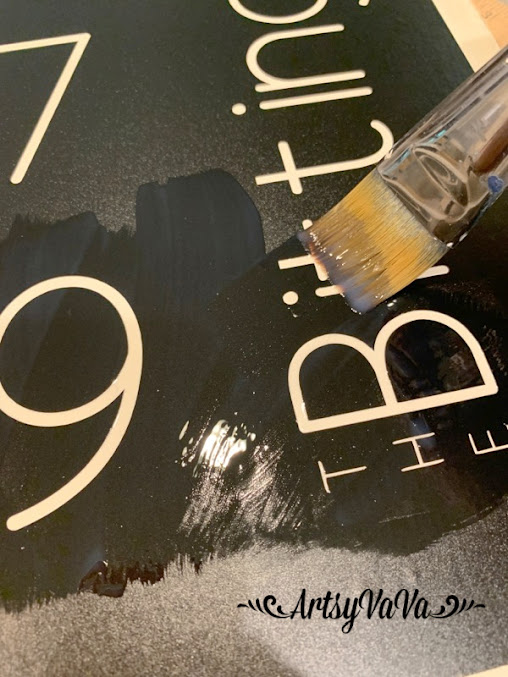
These stencils work great, but for added protection from paint bleeding under the stencil, I added Dixie Belle's Clear Coat. This creates a barrier to prevent bleeding.
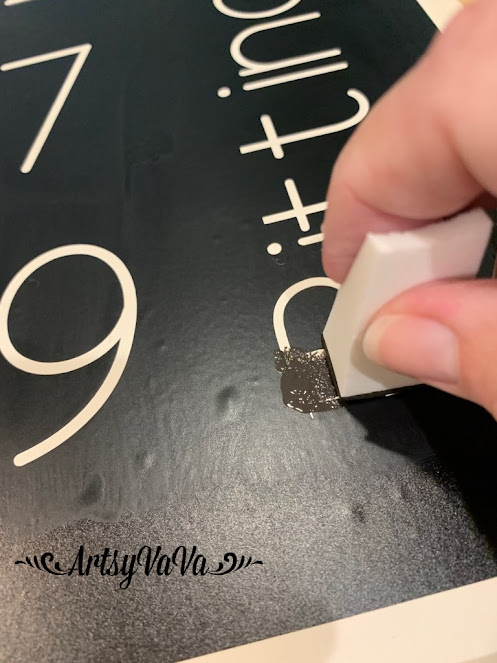
Once the Clear Coat was dry, I used a makeup wedge & the color, Coffee Bean to paint over the stencil. I did 3 thin coats using a pouncing motion.

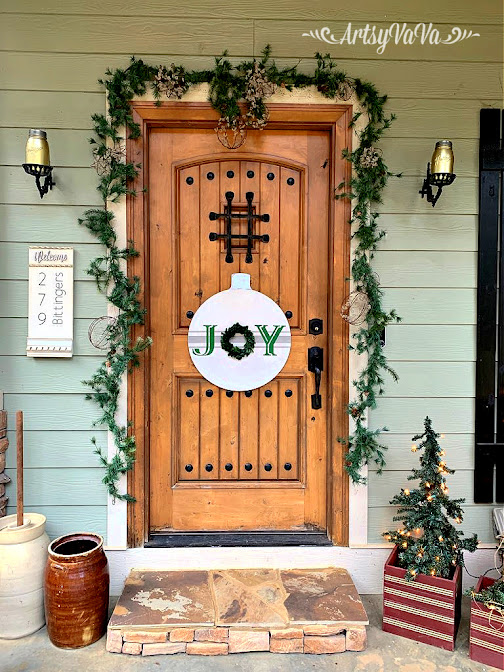
Now there's no question whether you are at the right house or not!


Linking To:

Thursday, November 18, 2021

Rusty Leaf Garland

Fall is usually slow to arrive here in the South. And, the Georgia pines greatly outnumber the colorful trees. However, yellow, red, and orange still make an appearance. Even as the leaves fade from the colors of Autumn into a rusty color, they're still beautiful. And for a girl who loves rust AND Fall, this project perfectly combines both.

I started with wooden leaves from Signopoly.

I gave the leaves a coat of Dixie Belle Paint using the color Sand Bar. The color of paint doesn't matter, because it isn't going to show in the end.
To create the rust, I used Dixie Belle's Patina Collection. 

The patina paint has tiny metal particles in it. The paint needs to be shaken well to distribute these particles.

After shaking the patina paint really well, I gave the leaves one coat of Iron Patina Paint. 

Once the first coat was dry, I gave the leaves a second coat of the Iron Patina Paint. While the paint was wet, I sprayed the leaves with the Green Patina Spray.

The paint will react to the spray and create rust. The process begins quickly, but may take up to six hours to finish reacting.

The hardest part is waiting for the process to end. But, I managed to walk away and finish the project the next day.

I used twine to string the leaves together for the garland.


I'll hate to see the leaves go, from both the trees and my mantel. 

Linking To:
Related Posts Plugin for WordPress, Blogger...