Living in the country, there's no shortage of rabbit sightings. So, I don't need a sign to tell me where the bunny trail is, but I couldn't resist creating this cute sign for Easter.
I started with a wooden sign blank from Signopoly.
I wanted a vintage feel for the sign so I gave it a crackle finish. I wanted the cracks to be dark, so I first painted the sign with the color, Gravel Road, from the Dixie Belle Paint Company.
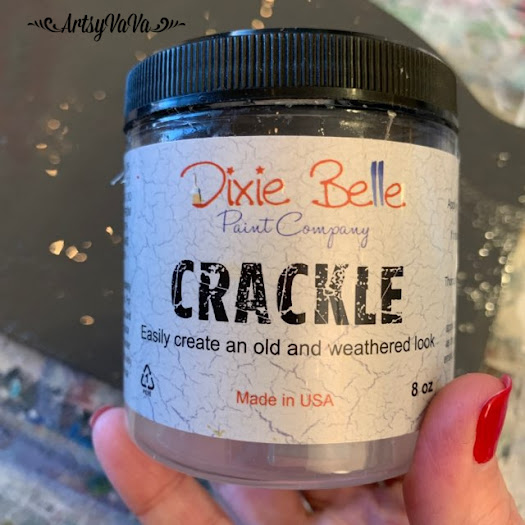
Once the paint was dry, I added a layer of Crackle medium. The crackle medium is very thick, so it needs to dry overnight.
The next day, I painted over the crackle with the color, Tea Rose. The cracking starts to happen pretty quickly, so the key to being successful with crackle is to not overwork it. If you go back and forth with the paintbrush, you will fill in the cracks as they begin to form. So, I load my brush & go as far as I can with one smooth stroke.
I created the design in Cricut Design Space. There was not an arrow that went well with the font I used so I created one by turning 3 I's & a V on their side & joined them together.
I made a stencil with my Cricut Maker by cutting my design out using adhesive backed vinyl. I placed the stencil on the sign, then used a makeup sponge to apply the color, Coffee Bean. I used a pouncing motion to apply the paint.
I used very little paint to ensure that the paint didn't bleed under the stencil. The first coat always looks bad...
It took 3 coats for perfect coverage...
Ginger Snap Crafts, Chic On a Shoestring, Simply Sweet Home, The Cottage Market, Funky Junk Interiors, Sugar Bee Crafts, Flour Me With Love, The Answer Is Chocolate, Skip To My Lou, The Thrifty Home, Flutter Buster,, Finding Silver Pennies, Our Hopeful Home, My Thrift Store Addiction, The Painted Hinge, Yesterday On Tuesday, Confessions Of A Plate Addict, My Uncommon Slice Of Suburbia, Creatively Beth, My Hubbard Home, County Road 407


.jpg)

Very cute! I might have to make one for my grandson!
ReplyDeleteJust perfect! Featuring when my party opens.
ReplyDelete