Friday, April 29, 2022

Experimenting On Upholstery

 I've painted quite a few upholstered pieces over the years with great results. And, when a friend gave me this piece, I took is as an opportunity to experiment beyond just painting.

The first experiment had to do with picking the color. I have had so much fun playing with Dixie Belle Paint Company's new Color Lab. The Color Lab is located on their website. You can pick 2 or 3 of their 69 colors and see how they mix together. You can mix equal parts of colors, or adjust them to have more or less of a certain color.

I've played around with it, but never actually put it to the test. I wanted to use a fun, bright color on this piece & finally settled on mixing equal parts of Flamingo & Plum Crazy.

The combination of these two colors is gorgeous!


It can take more coats of paint for good coverage on upholstery, & this piece took 3 coats.
Once the final coat was dry, I sealed the paint with Dixie Belle's Easy Peasy Spray Wax.


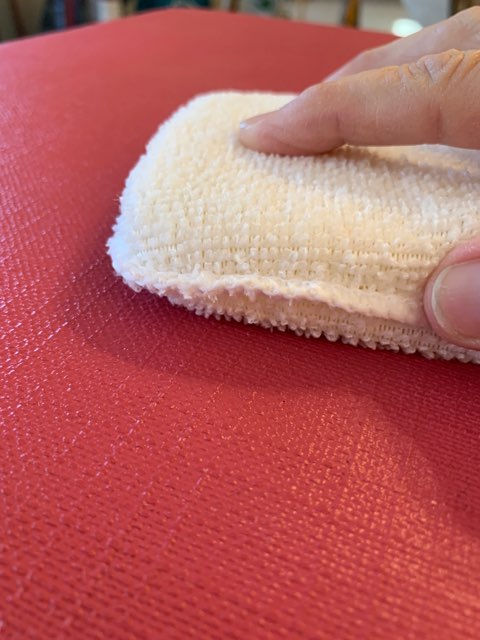
It really is easy peasy! Just shake, spray & smooth it out. You can use a rag, but I prefer their applicator pad to smooth out the wax. With the pad, I know it won't leave any lint behind to stick in my wax. The spray wax is water based so I can wash out the applicator pad & use it again.


I brightened up the cushion, & the metal base needed to be brightened up too. 


So, I used my finger to apply a little silver gilding wax.


So much better!
But, remember this was a piece to experiment on, so I didn't stop there.


I had never stenciled or used gilding wax on upholstery & this was the perfect time to try it.


I used Dixie Belle's harlequin stencil with silver gilding wax, then added a little black gilding wax to the edge of the diamonds.
 

The gilding wax worked perfectly on the painted fabric.


For one last experiment, I added some flowers using Dixie Belle's Floral Silkscreen Stencil.
I have used the silkscreen stencils on aprons before & found that it doesn't work as well scraping the paint on the stencil over fabric with the tool that comes in the pack. The tool works perfect over hard painted surfaces like painted wood. For me, I get more crisp detail by pouncing the paint onto the stencil with a makeup wedge when applying it on fabric.


Experiment! If you don't like how something turns out, you can paint over it & experiment again.


Linking To:

Friday, April 15, 2022

Preppy Peony Paint Pour


If you lived through the preppy era, then you'll remember that pink & green were very popular colors. And, when I was deciding on what to do with this wooden egg cutout from Signopoly, I decided to NOT go with the traditional Easter pastels & go preppy.


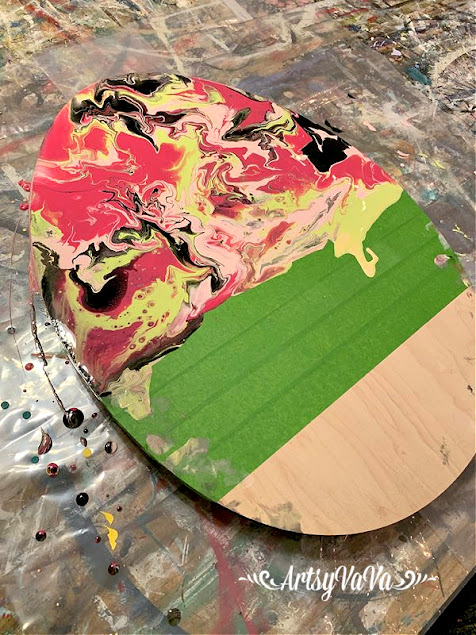
I wanted to combine a paint pour along with a decoupage paper. I used painters tape to divide the egg is half so that the paint from the pour wouldn't flow where I was going to put the paper.


I wanted to use the Peony Pattern Rice Paper from the Dixie Belle Paint Company's Belles & Whistles line & picked the colors I felt went best with it...
Peony, Soft Pink, Limeade, & Caviar.
I mixed the paint with Floetrol Paint Additive to thin them out & help them flow.

I began layering the colors in different areas of the egg.

I tilted the egg in different directions until the paint covered the top section of the egg.

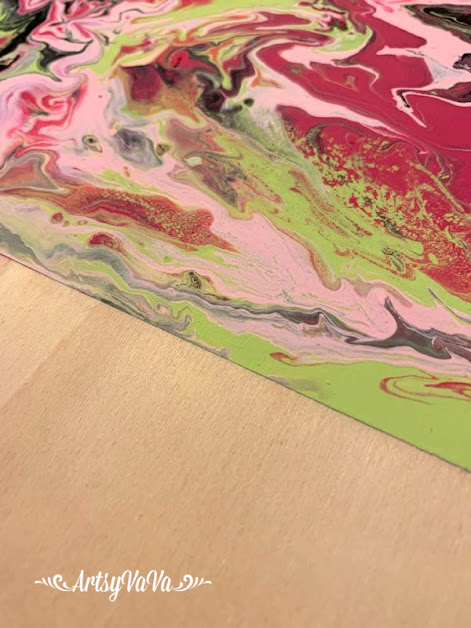
I gave the paint overnight to dry, then pulled off the tape. 

The tape did its job perfectly & no paint seeped underneath.

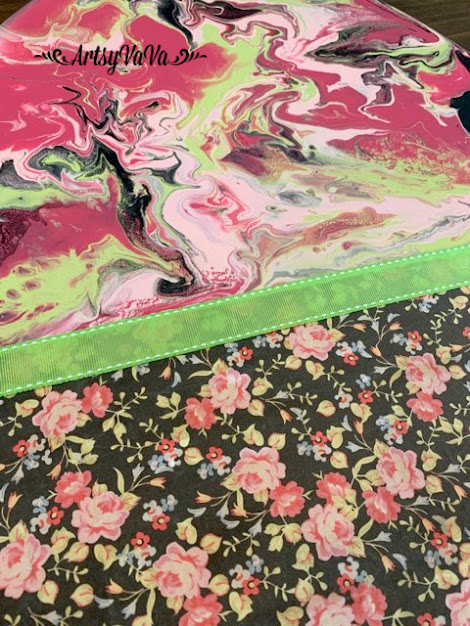
I applied the rice paper using ModPodge, then went over it with a brayer to smooth it out.

I sanded the edges of the egg to remove the excess paper.

I added Tacky Glue between the paint & the paper...

Then I added a ribbon. 


The preppy peony Easter egg...


Linking To:

Saturday, April 9, 2022

Decoupage Easter Decor With Napkins

 If you've followed me for awhile, then you know how much I love to use napkins for decoupage. If there's ever a napkin shortage, just come to my house. I have quite the collection! And, HomeGoods doesn't help my addiction. Not only do they have a section in the store with napkins, they have them strategically placed in the long line you have to stand in to check out. So, of course, on my last visit I had to buy 6 packs of cute Easter napkins.

I bought the napkins to make coasters (which I did) but I had a couple of other projects in mind as well.

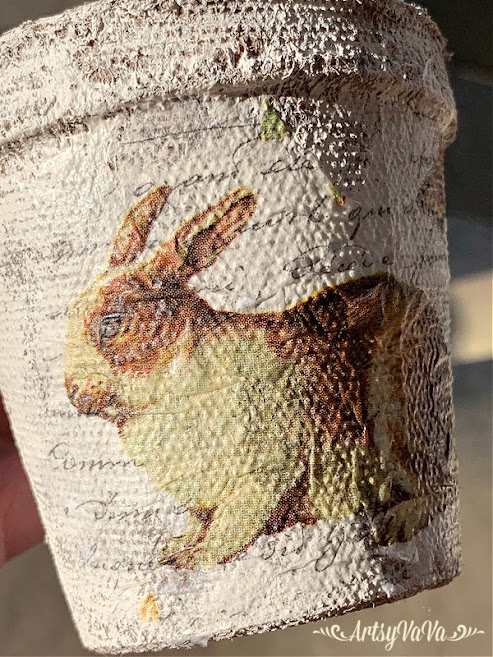
 I've always seen peat pots used in decor & thought some of the napkins I bought would be perfect for that project. So, I ordered some peat pots...


I didn't want solid coverage, so I dry brushed them with white paint.


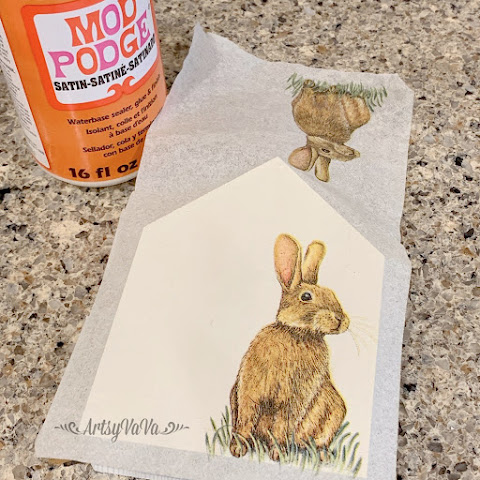
The napkin I used was 3 ply, so I separated the layers until I was left with a single sheet. If you don't separate the layers, the napkin won't stick properly.
I tore around the part of the design I wanted to use, then used ModPodge to apply it to the peat pot.


Since the background color of the napkin is white, it doesn't show on the white paint, & looks like the design is painted onto the pot.


I formed Spanish Moss into a nest shape, placed it into the pot, then added an egg.


I love how it turned out & see a lot more projects with peat pots in my future!


I used a second napkin for a super easy project on a little wooden block house that I picked up at Target. These little houses come in packs of 3 different sizes.

I painted the wood white...


As with the last project, I separated the layers, & added ModPodge to the block, then applied the napkin.


I sanded the edges to remove the excess napkin.


I could have stopped there & it would've been cute, but I cut out the words, Easter Blessings, in vinyl using my Cricut Maker, & added them to the block.


Easy, inexpensive, adorable!


Linking To:
Related Posts Plugin for WordPress, Blogger...