Showing posts with label Decor. Show all posts

Saturday, April 9, 2022

Decoupage Easter Decor With Napkins

 If you've followed me for awhile, then you know how much I love to use napkins for decoupage. If there's ever a napkin shortage, just come to my house. I have quite the collection! And, HomeGoods doesn't help my addiction. Not only do they have a section in the store with napkins, they have them strategically placed in the long line you have to stand in to check out. So, of course, on my last visit I had to buy 6 packs of cute Easter napkins.

I bought the napkins to make coasters (which I did) but I had a couple of other projects in mind as well.

 I've always seen peat pots used in decor & thought some of the napkins I bought would be perfect for that project. So, I ordered some peat pots...


I didn't want solid coverage, so I dry brushed them with white paint.


The napkin I used was 3 ply, so I separated the layers until I was left with a single sheet. If you don't separate the layers, the napkin won't stick properly.
I tore around the part of the design I wanted to use, then used ModPodge to apply it to the peat pot.


Since the background color of the napkin is white, it doesn't show on the white paint, & looks like the design is painted onto the pot.


I formed Spanish Moss into a nest shape, placed it into the pot, then added an egg.
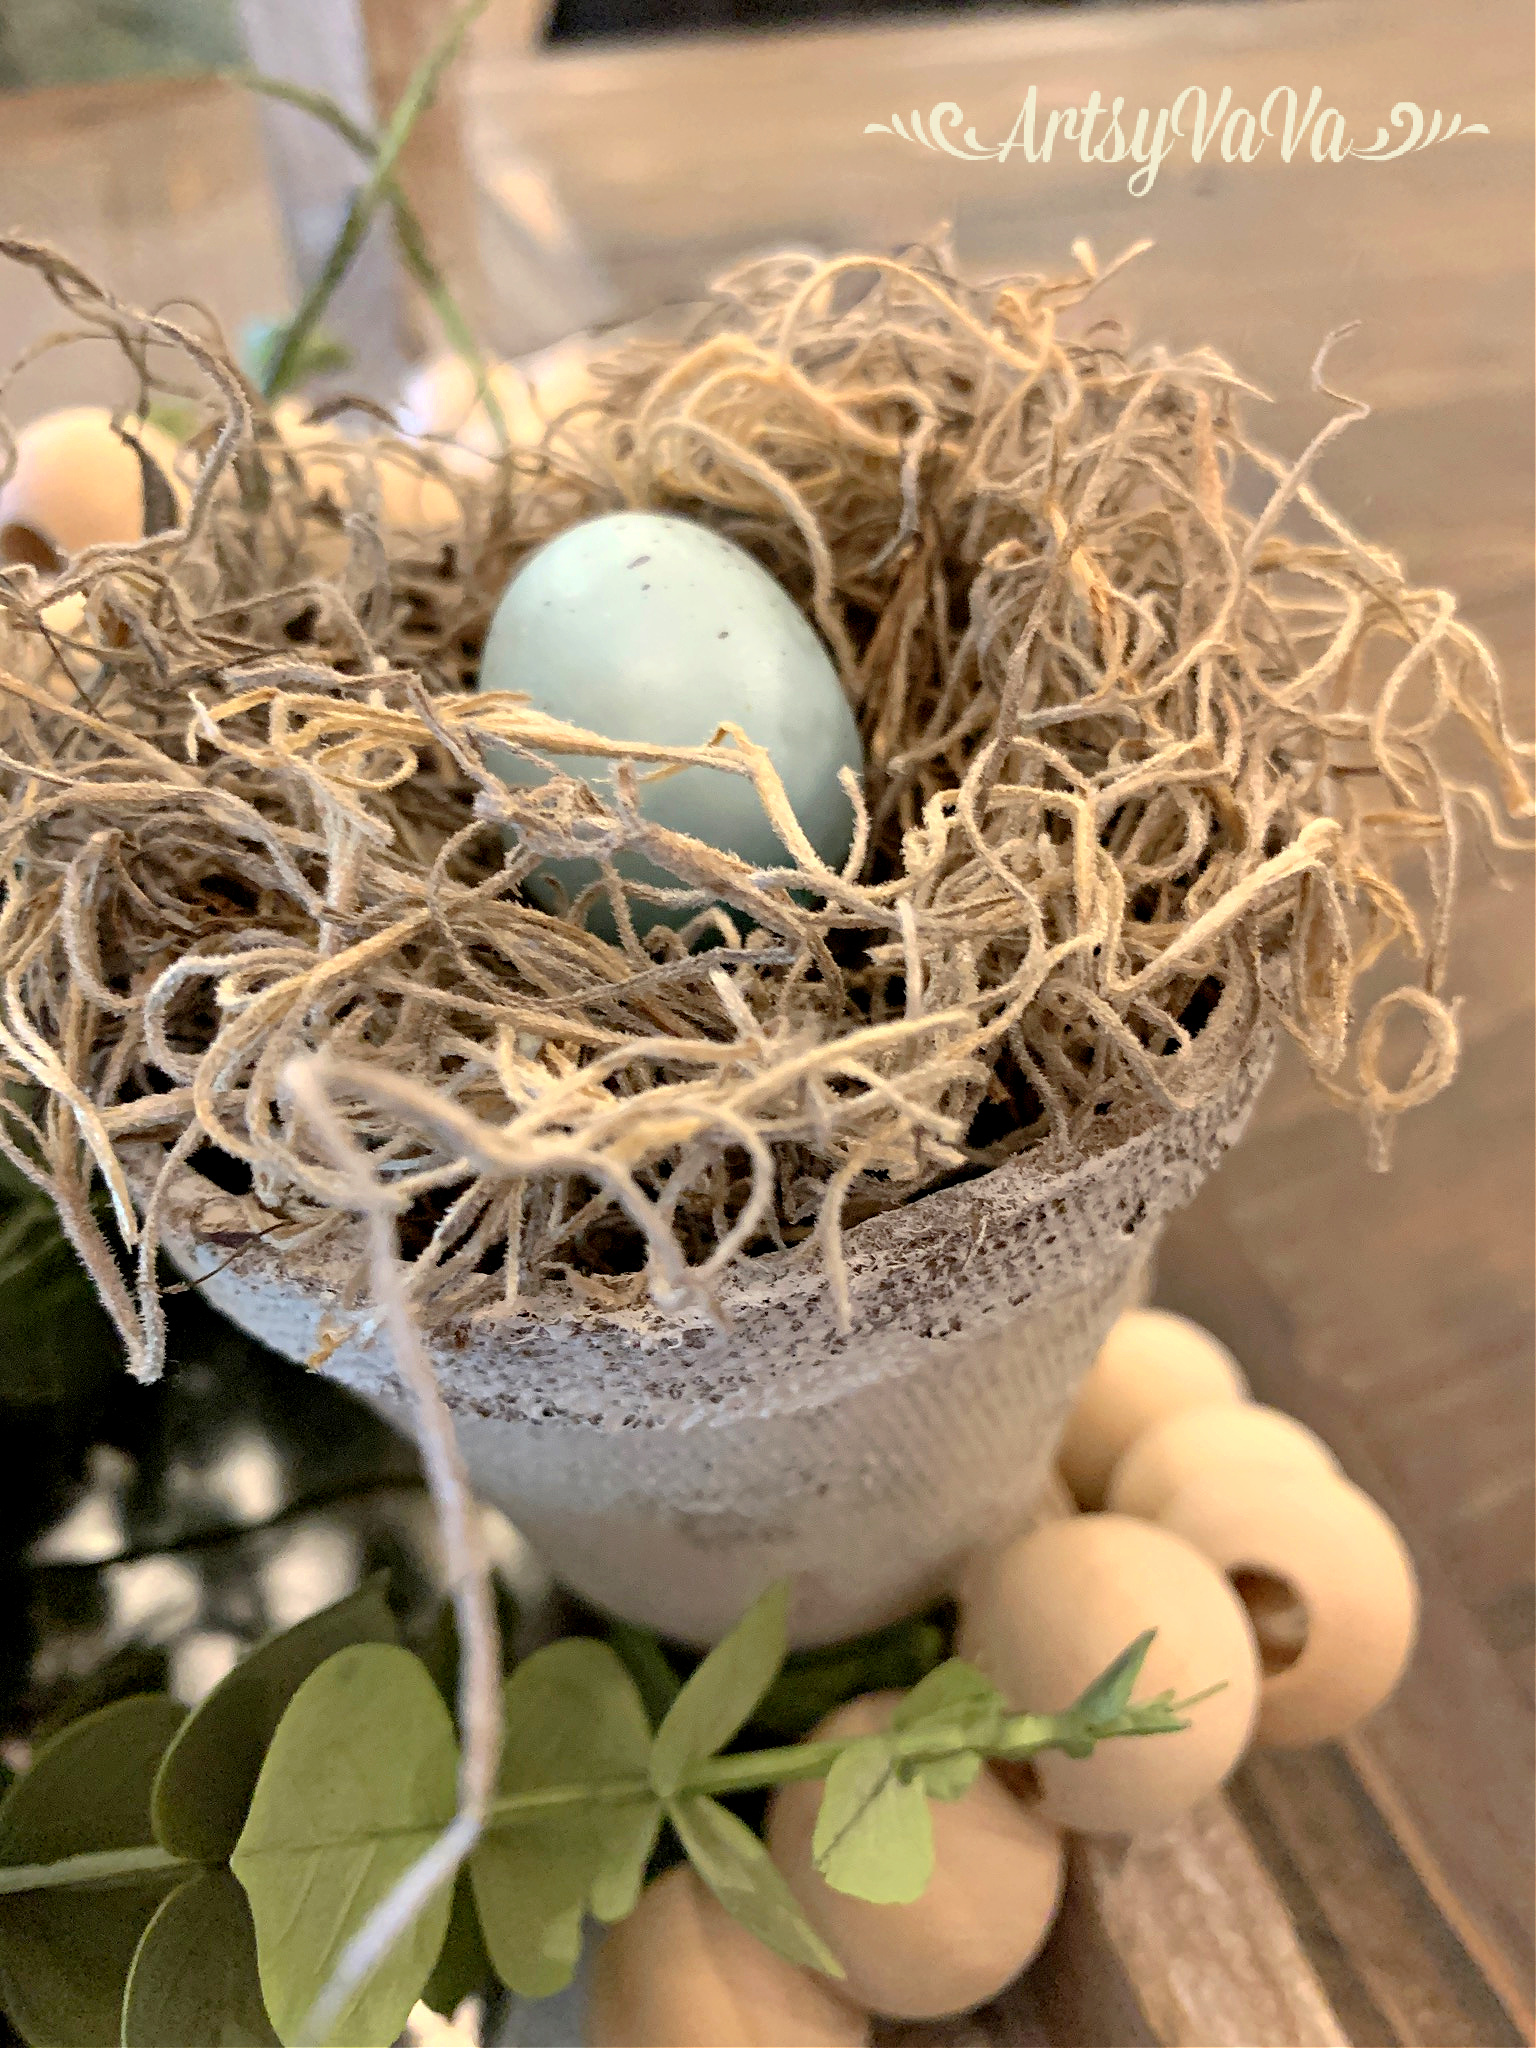

I love how it turned out & see a lot more projects with peat pots in my future!


I used a second napkin for a super easy project on a little wooden block house that I picked up at Target. These little houses come in packs of 3 different sizes.

I painted the wood white...


As with the last project, I separated the layers, & added ModPodge to the block, then applied the napkin.
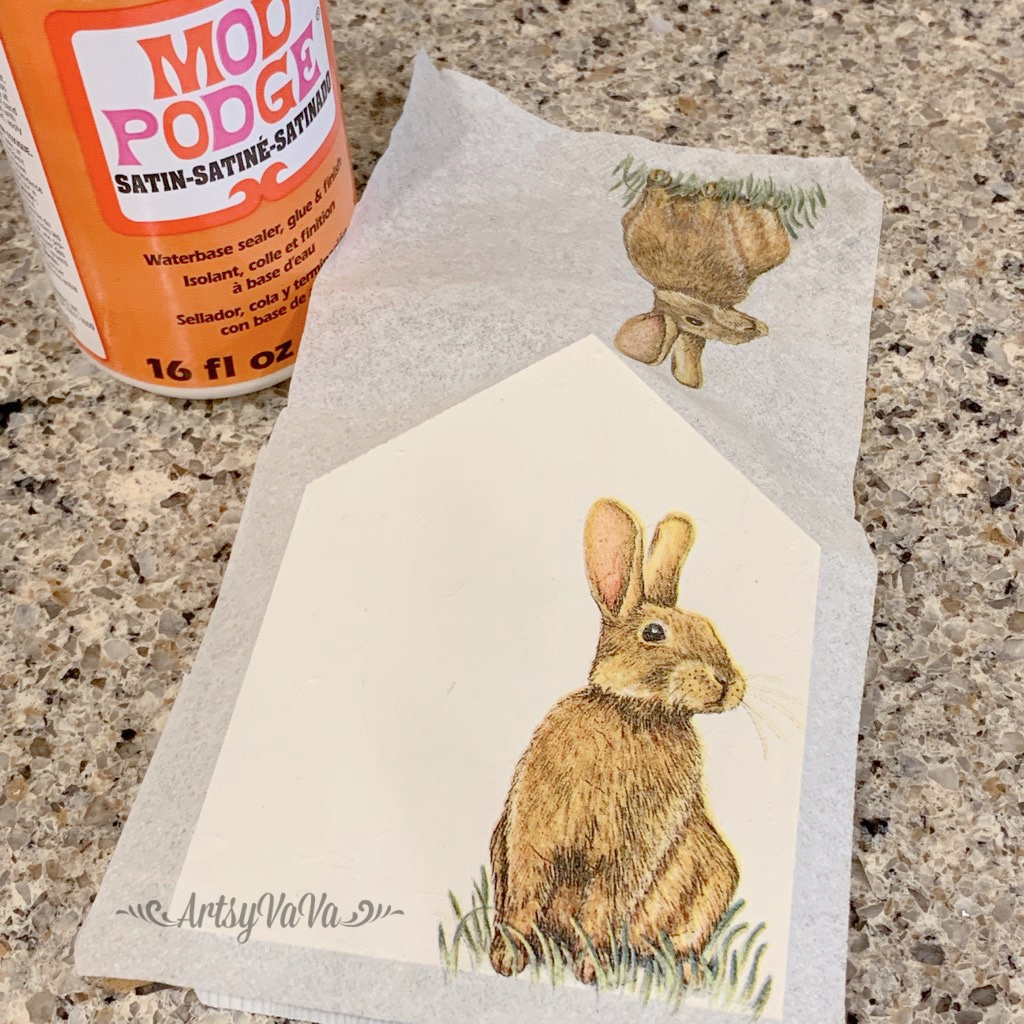

I sanded the edges to remove the excess napkin.


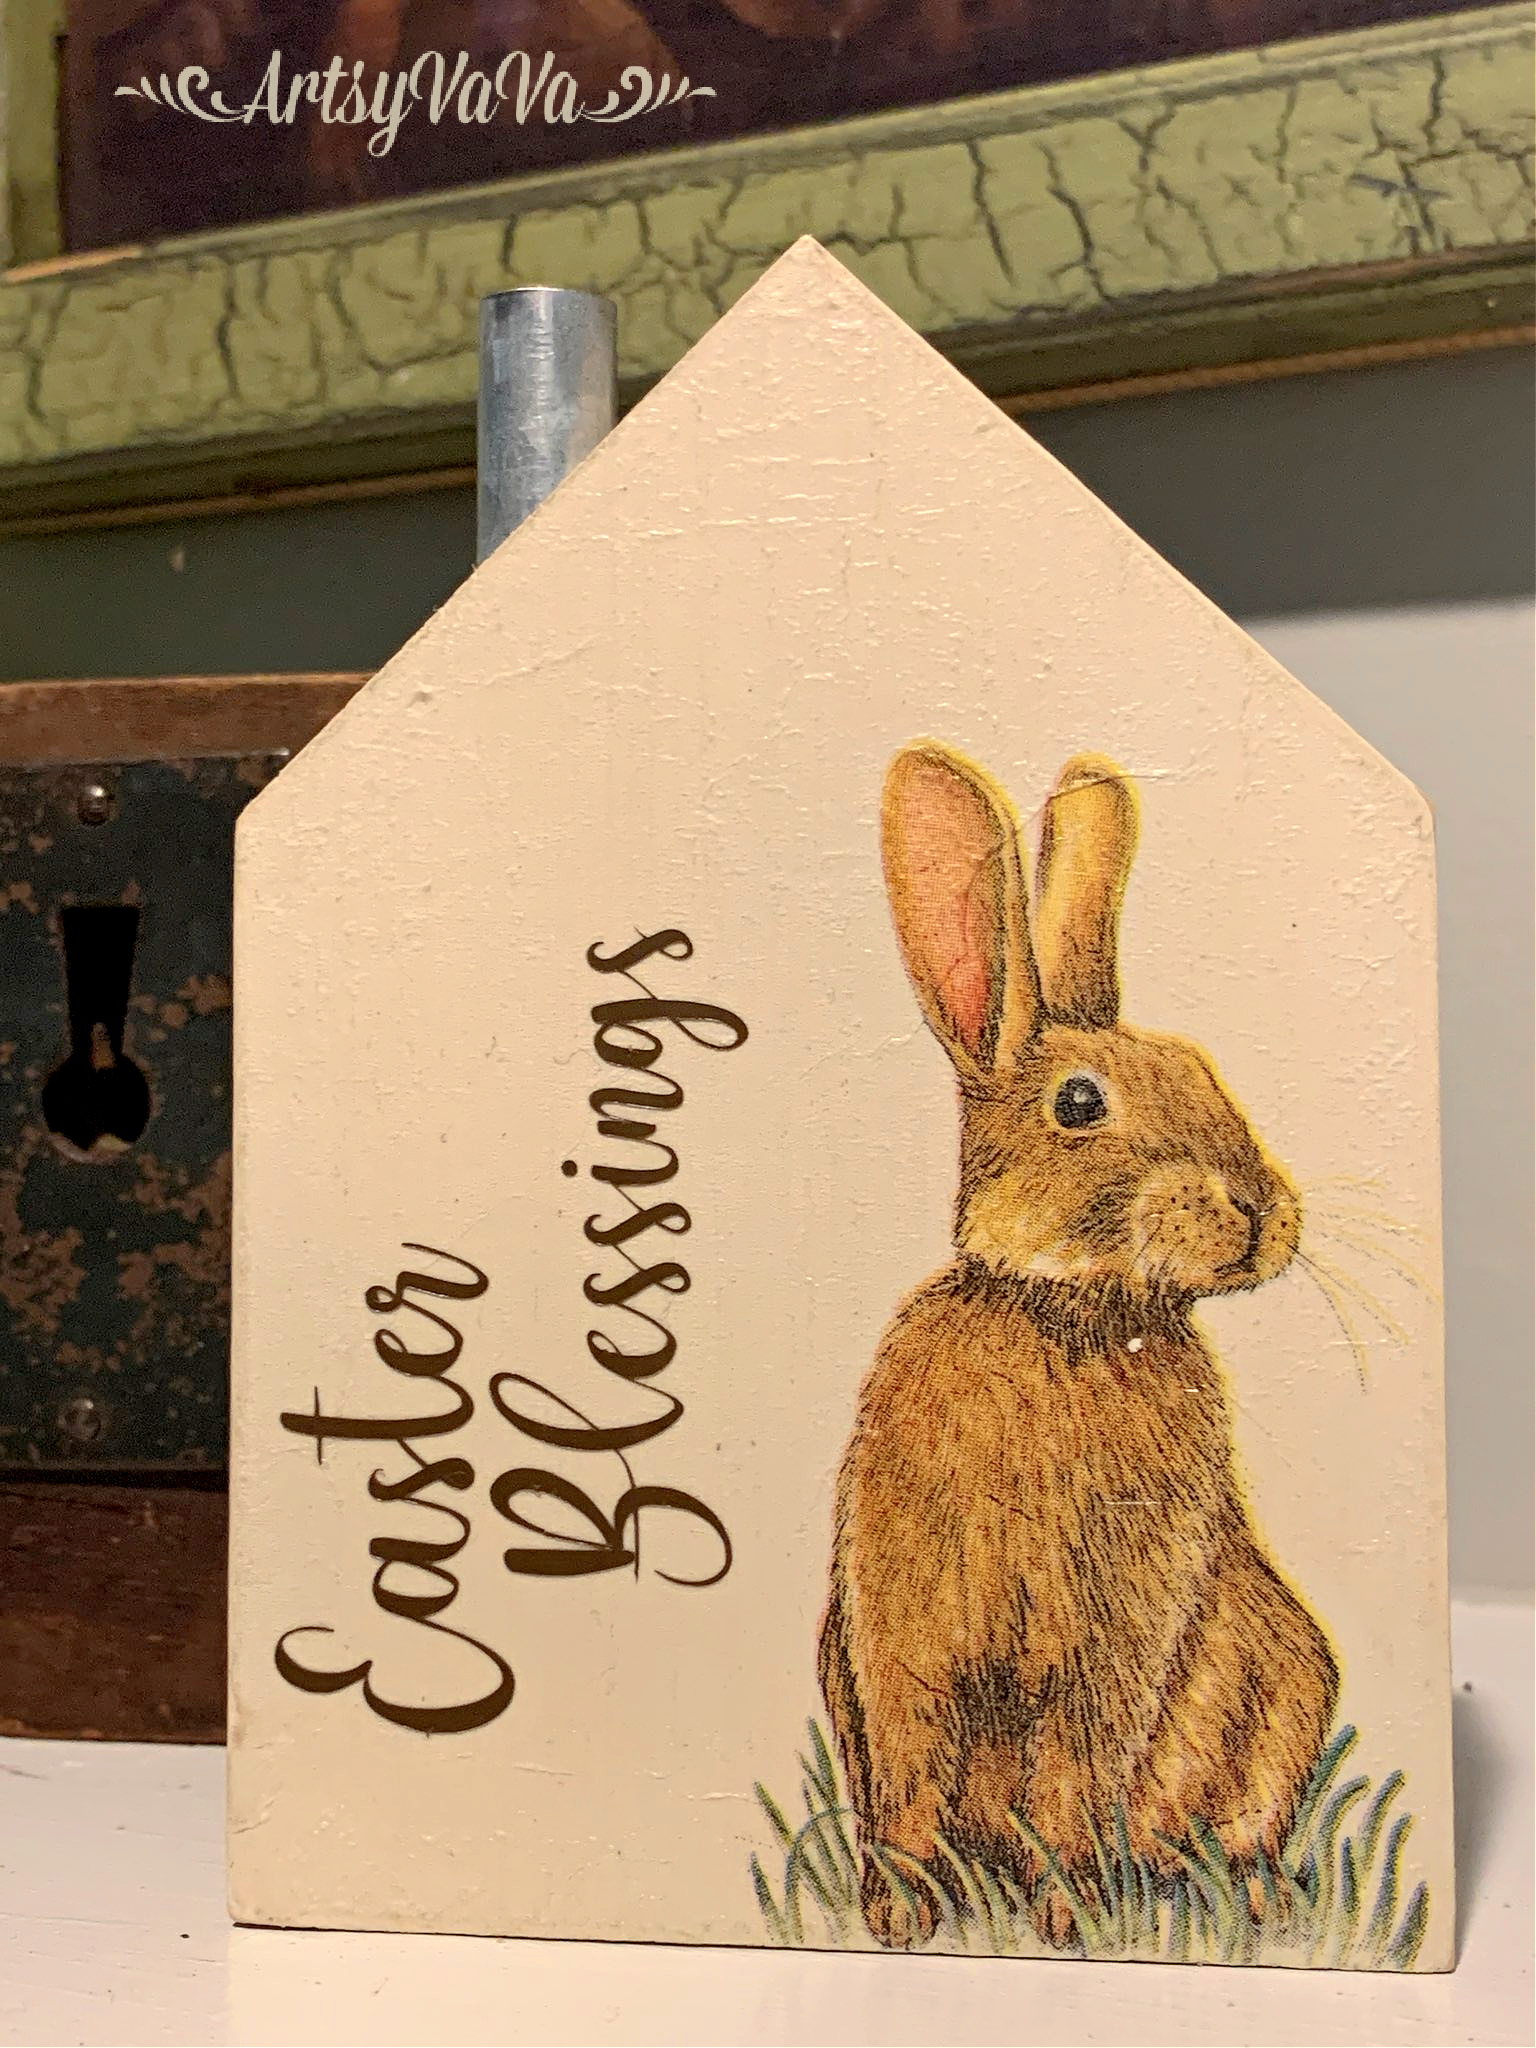
I could have stopped there & it would've been cute, but I cut out the words, Easter Blessings, in vinyl using my Cricut Maker, & added them to the block.


Easy, inexpensive, adorable!


Linking To:

Sunday, August 30, 2020

Bread Board Tablet Stand


When cooking, do you use your tablet for recipes? I do. It's rare that I actually use a recipe card. And, having a stand to keep it upright makes it so much easier to view than trying to pick it up with messy hands.

And, if I'm going to have a stand, it might as well be pretty, so I made my own.

I started with a wooden bread board from Signopoly.

  I wanted to do a paint pour on part of the board, so I drew a line about 3/4 of the way up from the bottom. I covered the top portion with cling wrap and secured it with painters tape.

I placed the board on top of 2 disposable cups to elevate the board so that the paint could run off the edges during the paint pour. I placed the cups inside of a shallow box that I covered with a plastic trash bag. I mixed Dixie Belle metallic paint in the colors, Gold Digger and Caribbean, as well as their colors, Caviar and Muscadine Wine, with Zinsser Paint Booster, then began to pour them on the board. The paint booster helps the paint move more freely.
I picked up the board and tilted it in different directions to allow the paint to move across the board.

While the paint was still wet, I sprayed it with a little hand sanitizer in some areas. This creates different designs within the pour.
I let the paint dry overnight, then removed the tape and cling wrap.


 I painted the remainder of the board with Caribbean metallic paint, as well as 2 wooden knobs.


To make the tablet stand, I added a small chalkboard easel that I found at Michaels, to the back. Before attaching it, I placed it in the center of the board & marked where I needed holes for the knobs. I then drilled the holes for the knobs, then used E6000 to attach the easel to the back of the board. Once the glue set up, I added the knobs.


This makes the perfect stand for my iPad when I'm cooking. When not in use, it stores away nicely in a cabinet.


Linking To:

Tuesday, July 21, 2020

Kitchen Conversion Sign

Maybe you're better than me at keeping it all stored in your head, but sometimes I need a little help with kitchen conversions. Of course, I remember the basics, but ask me the size of a dash or how many pints are in a quart and I may have to look it up.
So, I made a cute sign to keep the basics within eye shot.

I first stained a board with Dixie Belle's Voodoo Gel Stain in the color Denim. 
The board I used is from Signopoly.

This stain is water based so the clean up is easy & there's no odor. And, you don't have to wear gloves! 
While the stain was drying, I painted a wooden cutout of a mason jar (also from Signopoly) with Dixie Belle's paint color, Haint Blue. I used Silver Bullet with a little black detail for the lid.
I made a vinyl stencil that reads, kitchen conversions, with my Cricut Maker, then used the color Caviar to paint over it.
 I made another stencil with the conversion chart. I placed it on the board then painted over it with Dixie Belle's Clear Coat & let that dry. This will help create a barrier to prevent the paint from bleeding under the stencil.
 My favorite thing to stencil with is a makeup sponge! I used the color, Haint Blue for the chart.

 I used E6000 to glue the jar onto the board.


 Now the basic conversions are within eye shot!


Linking To:

Tuesday, July 14, 2020

Less Is More

I found this beautiful china cabinet at a recent yard sale...
 It was in great shape & had some pretty detail. But, the detail didn't stand out. So, I brought out the caviar.
 I didn't want to hide all of the wood, so less was more in this case.
 The wood really stands out next to Dixie Belle Paint Company's Caviar.

 Just a little caviar hit the spot!


Linking To:
Related Posts Plugin for WordPress, Blogger...