Showing posts with label Cricut. Show all posts

Friday, January 15, 2021

Trucking Into February

 The Christmas wreaths are put away, and now it's time to think about Valentine's Day.

This adorable door hanger was so fun & easy to make. And, I got to try out something new... cutting veneer with my Cricut!

I started with 2 large wooden tags. I painted one with the color, Fluff, from the Dixie Belle Paint Company. I downloaded an SVG file from ETSY of a truck filled with hearts, & cut a vinyl stencil using my Cricut Maker.


I used the colors Barn Red & Caviar on the stencil.


While the paint dried, I covered the other tag with a buffalo check paper napkin.

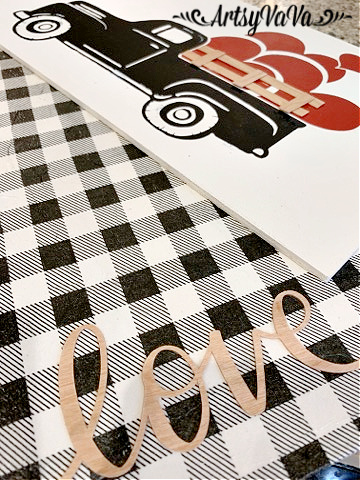
I used my Cricut Maker to cut out the word, love, using veneer.

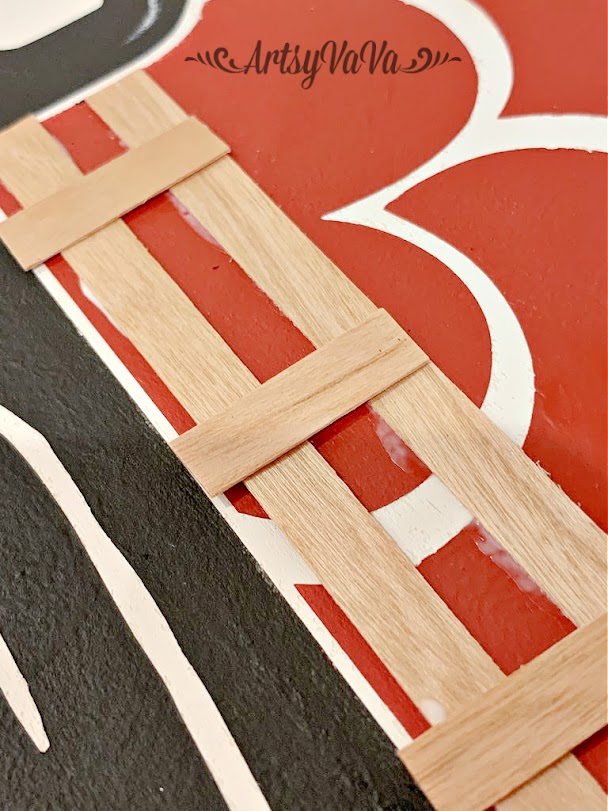
I also cut strips with the veneer to make rails on the truck.


I glued the love onto the tag covered with the napkin...

I added a simple bow at the top...
Now I'm trucking into February with a super cute door!


Linking To:

Tuesday, July 21, 2020

Kitchen Conversion Sign

Maybe you're better than me at keeping it all stored in your head, but sometimes I need a little help with kitchen conversions. Of course, I remember the basics, but ask me the size of a dash or how many pints are in a quart and I may have to look it up.
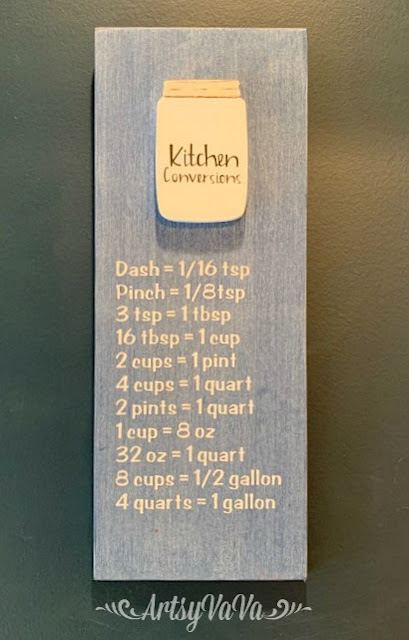
So, I made a cute sign to keep the basics within eye shot.

I first stained a board with Dixie Belle's Voodoo Gel Stain in the color Denim. 
The board I used is from Signopoly.

This stain is water based so the clean up is easy & there's no odor. And, you don't have to wear gloves! 
While the stain was drying, I painted a wooden cutout of a mason jar (also from Signopoly) with Dixie Belle's paint color, Haint Blue. I used Silver Bullet with a little black detail for the lid.
I made a vinyl stencil that reads, kitchen conversions, with my Cricut Maker, then used the color Caviar to paint over it.
 I made another stencil with the conversion chart. I placed it on the board then painted over it with Dixie Belle's Clear Coat & let that dry. This will help create a barrier to prevent the paint from bleeding under the stencil.
 My favorite thing to stencil with is a makeup sponge! I used the color, Haint Blue for the chart.

 I used E6000 to glue the jar onto the board.


 Now the basic conversions are within eye shot!


Linking To:

Sunday, June 28, 2020

Hello Summer Door Hanger

I'm back with another fun project to celebrate Summer... my favorite season!
I've shared quite a few of the wooden cutouts from Signopoly that make great door hangers or home decor. And, these sunglasses are super cute!
 I painted the frame with the color, Tree Frog Green. This is just a base because I did something fun with this color later on.
 If you've been here before, then you know that I love Dixie Belle Paint & use it for everything. It's intended for painting furniture, but the colors are so gorgeous that it's great for projects like this.
I painted an ocean sunset on the glasses...


 Then I added some palm trees...
 I made a vinyl stencil using my Cricut Maker to say, "hello summer." 
I added a yellow highlight to the letters.

 I added Dixie Belle's Crackle medium over the Tree Frog Green and let it sit overnight before adding a top color.
After letting the Crackle medium dry overnight, I painted over it with the color, Daisy.
 I used a Prima mould & modeling material to create a little flower embellishment for the corners of the glasses.
Hello Summer!!! Let the fun begin!


Linking To:

Friday, May 29, 2020

A Sunflower Welcome

Sunflowers are one of the best things about Summer!
And, this porch sign is a perfect way to welcome not only Summer, but also my guests.
To make the sign, I started with a 4' x 1' board that I painted with the color Fluff from the Dixie Belle Paint Company.
I used my Cricut Maker to cut out the word, welcome, using permanent vinyl.

For the sunflowers, I used the Sunflower Fields transfer from Re*design With Prima. The transfer works similar to the vinyl "welcome" in that you peel off the back, place the design, rub over the design to make it adhere, then peel up the top layer. The difference is that the Prima transfer comes with the top layer, & you add transfer tape yourself as the top layer with the Cricut vinyl. The Cricut vinyl can be re-positioned, but the Prima transfer can't. 

I used a paper cutter to get a straight edge on the transfer so it would line up perfectly with the edge of the board.


I placed large groupings of flowers on the top & bottom of the board, then added smaller pieces to middle sections of the board.


And, since the squirrels always dig up & eat my seeds, this is the perfect way for me to enjoy sunflowers.

Linking To:
Related Posts Plugin for WordPress, Blogger...