Showing posts with label image transfer. Show all posts

Friday, March 29, 2024

Easy Printed Image Transfer

 When I came across these packages of 4" winter signs at a discount store, I bought several packages. I've done quite a few projects where I cut 2x4 boards into 4" squares. So, I knew these blocks would make future projects easy.


After having these for awhile, I finally decided to recreate a project that I did in 2016. You can see that post HERE.

In this new version, I painted the blocks with 2 coats of Dixie Belle Paint Company's chalk mineral color, Buttercream. I left the ski graphics on the other side of the blocks in case I want to use them in the winter. Once dry, I stained the side with Dixie Belle's Voodoo Stain using the color, Tobacco Road. 

I used a damp rag to add a little of the stain to the front of the blocks to give them an aged look.

I found 3 bird images on The Graphics Fairy that I wanted to use. I resized them to fit the blocks, then printed them using my laser printer. If you use an ink jet printer, the ink will bleed. If you don't have a laser printer, you can print your image with an ink jet printer, then take it to an office supply store to make copies. They typically use laser printers, but check to make sure first.

If your image has writing on it, make sure to mirror the image or your finished product will have backward writing.


I covered the blocks with Dixie Belle's Satin Clear Coat, then laid my bird images printed side down onto the wet blocks. 

In the original post, I cut closely around the bird, then coated the paper with clear coat. But in this version, I cut the images in squares approximately the size of the blocks. I also coated the block with the clear coat instead of the paper.

I waited overnight to make sure the image was transferred, then placed a wet paper towel over the paper. I let it sit for about 30 minutes to make sure that the paper was fully saturated. Then I started rubbing the paper away. I added a little water whenever it felt as though the paper was getting dry.


When dry, if the image started to appear cloudy, I added more water, then rubbed the excess paper off.

I gave each finished block a coat of Dixie Belle's Satin Clear Coat.


I love how these turned out!


Linking To:

Monday, March 20, 2023

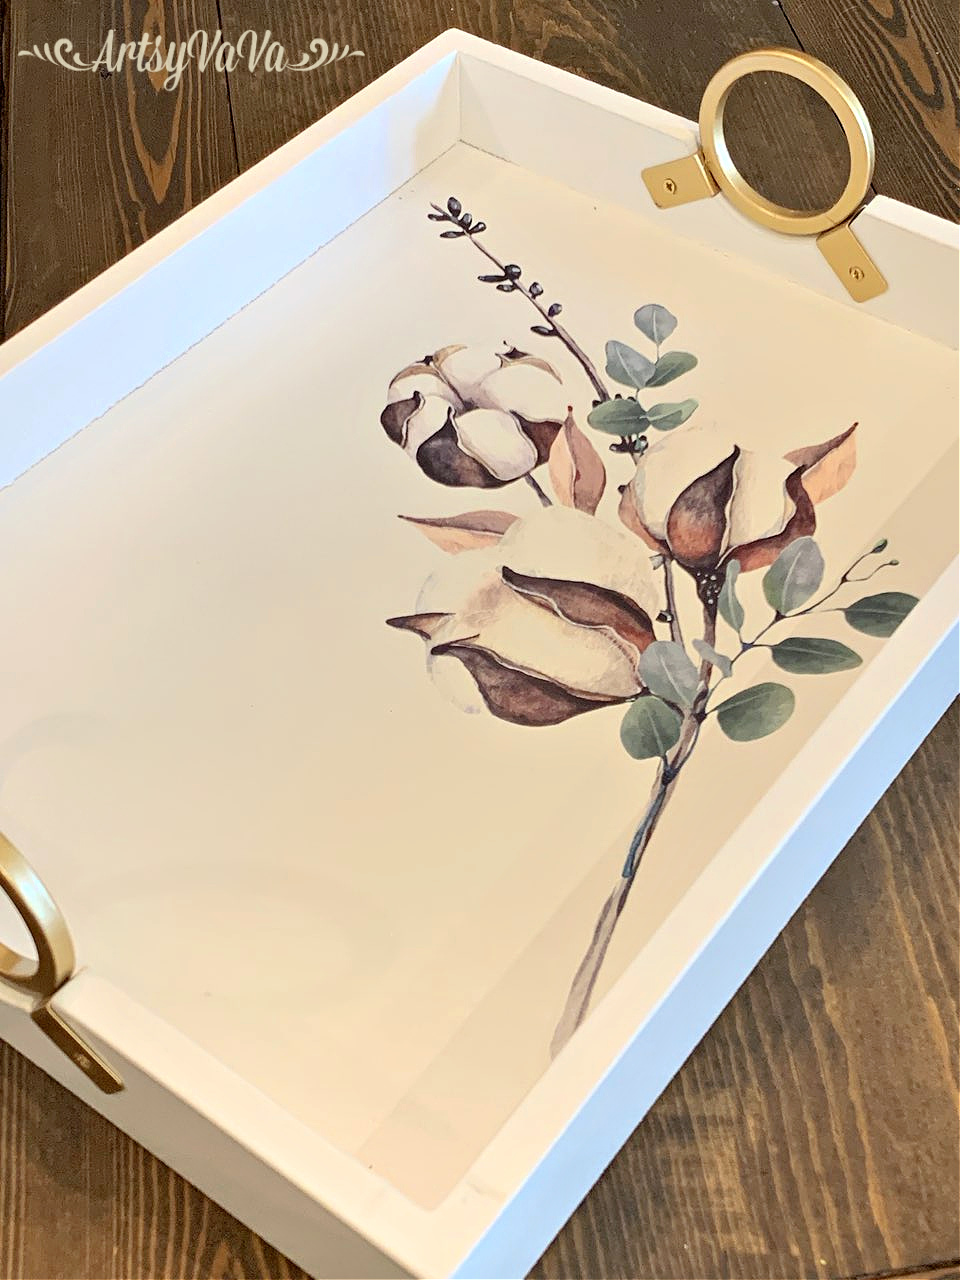
Adding A Little Shine To The Cotton: A Tray Makeover

 I couldn't resist this pretty tray from Target with the unique handles. But as usual, I couldn't leave it alone. I had to add a little something to it.

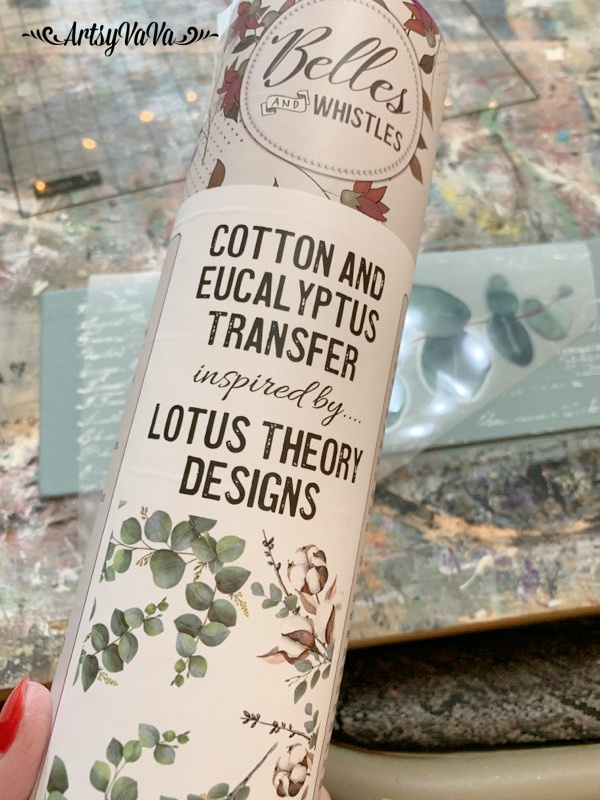
If you saw my last post, you saw how I used the Cotton & Eucalyptus Transfer from the Dixie Belle Paint Company on a tobacco basket makeover. There are so many design elements to the transfer, that you can do a lot of different projects with the one package.

So, I decided to use another design from that transfer on the tray.

There are 4 sheets in the package with multiples of several designs. I cut out the design that I wanted & peeled off the white backing.

I placed the design with the clear overlay where I wanted it on the tray & rubbed over it with the applicator stick provided in the package.

The tray was pretty with the cotton, but again, I can never leave well enough alone. And, there's a new product from Dixie Belle that I wanted to use, & this was a great project to try it out.

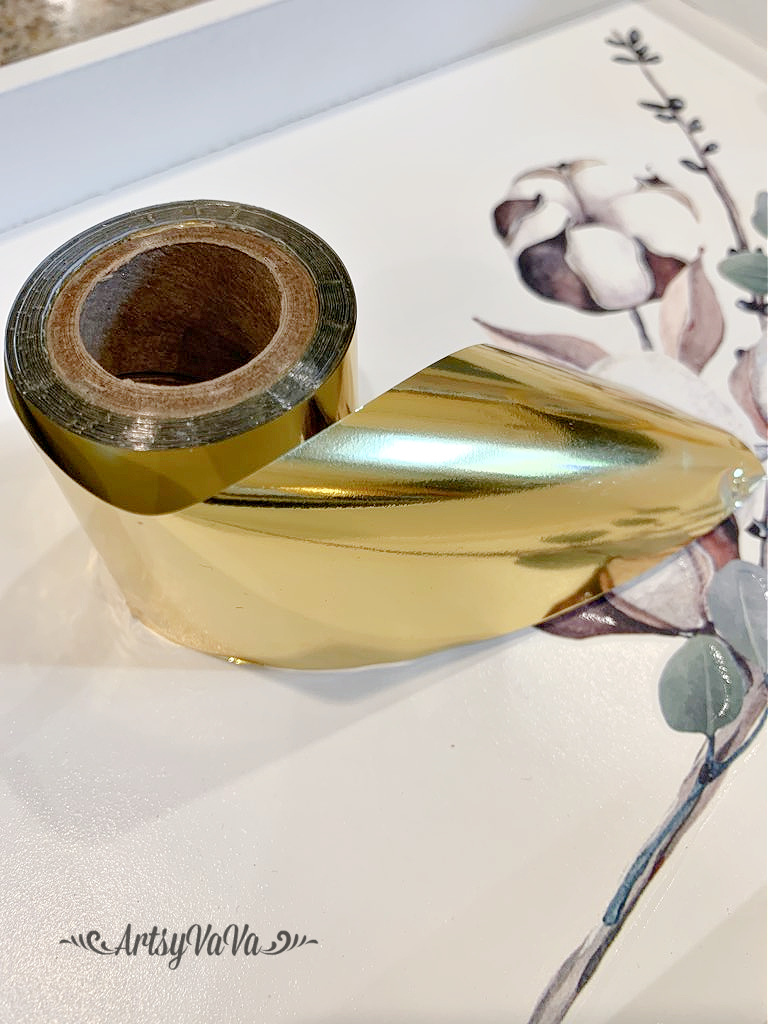
Dixie Shine gives the look of gold leaf but without the mess or waste. It comes in 3 colors, gold, silver, & copper. I chose to use gold to go along with the gold handles on the tray.

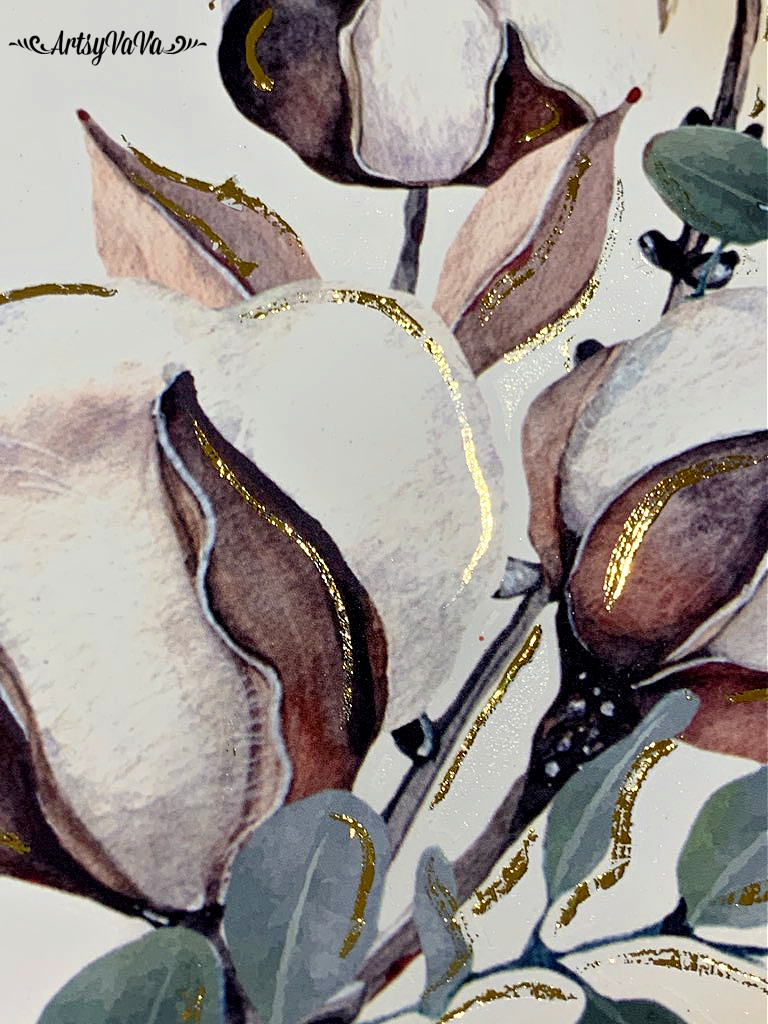
To use Dixie Shine, you first have to apply the glue, Stick With Me. I used a small artist brush to areas where I wanted the cotton to have a gold highlight.

Once the glue is added, you have to wait at least 15 minutes before adding the Shine. You can wait longer if you want. The glue will stay sticky until covered with Shine

Dixie Shine comes on a roll with plenty to do lots of projects.

I cut off a small piece of the Shine, then started laying it over the glue, rubbing over it, then peeling it up


Like I said earlier, there's no waste. The small piece of Shine that I cut can be used over & over until all the gold is gone. You can see here where the glue has pulled off the gold & there is more left that can be used.

Dixie Shine gave just enough gold shimmer to tie in with the gold handles of the tray.


Linking To:

Saturday, February 25, 2023

Tobacco Basket Makeover

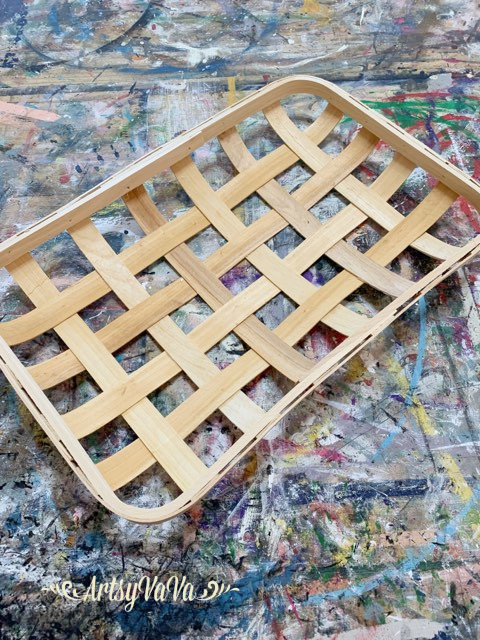
 I have never seen rectangular tobacco baskets before, & when I came across this unique shape & size I bought a few. I wasn't sure what I wanted to do with them but knew something would come to me. And, like so many ideas, this one came to me in the middle of the night. Luckily, I remembered it when I got up the next day!

The basket was unfinished so I stained it with Dixie Belle Paint Company's Voodoo Gel Stain in the color, Up In Smoke. The stain is water based so it makes for easy clean up.


I then painted a 4" x 12" canvas panel with the chalk mineral paint color, Vintage Duck Egg.

Once the canvas panel was dry, I used a brayer to add the color, Fluff, from Dixie Belle, to a decor stamp from re*Design With Prima.

While the paint was wet on the stamp, I stamped it onto the canvas panel. 

Next, I used the Cotton & Eucalyptus transfer from Dixie Belle to embellish the canvas panel further.

The transfer comes with 4 sheets & multiple designs. I started with a sprig of eucalyptus. I cut out the section that I wanted to use, removed the white backing, then used the tool included in the package to rub the transfer onto the canvas.


Then I added some cotton, overlapping it with the eucalyptus.


I glued the canvas panel to the center of the basket using E6000.

I formed some Spanish moss from the Dollar Tree into a nest, added some eggs, then glued it into the corner of the basket.


I'm excited to incorporate this piece into my Spring decor.


Linking To:

Monday, January 9, 2023

Oh Deer, A Chair Makeover

 I was just driving down the road minding my own business when I came upon a yard sale. I vowed to keep going, but I saw this chair...


I thought it would be perfect for practicing upholstery. And, the price was right!
I had the best of intentions, but when the fabric is in good shape, I often opt to paint the upholstery rather than redo it. In this case the fabric on the back of the chair was just faded. And it didn't quite go with the rustic look of the wood with its faux knots & carving to resemble branches.

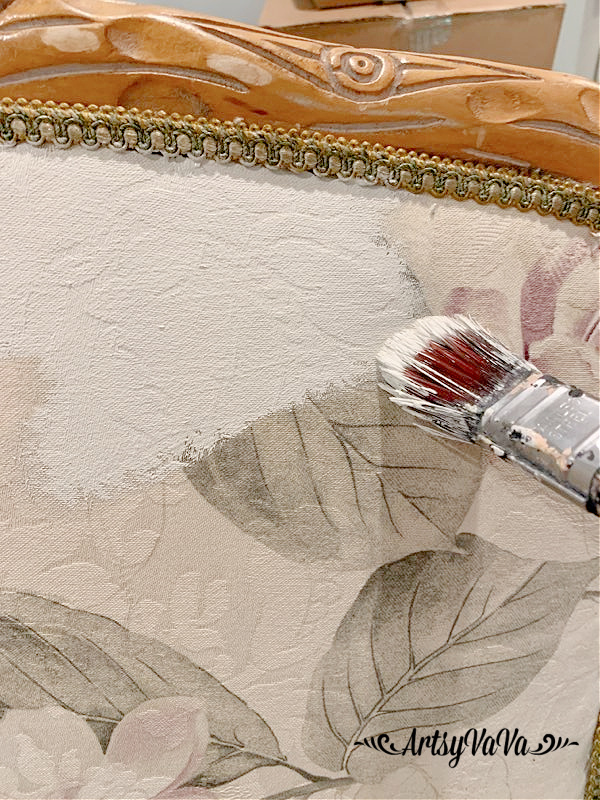
I painted the back of the chair with the color, Sawmill Gravy, from the Dixie Belle Paint Company

I had a plan to add a woodsy style transfer to the back to give the chair a rustic feel & enhance the "branches" rather than compete with them. Sawmill Gravy served as a base for the transfer & would keep the fabric pattern from showing through.


I thought I was going to have to upholster the seat because there was a small tear. But, when I removed the trim & fabric, there was another fabric that was in good shape. So, I painted it with the color Evergreen, also from Dixie Belle.

Keep in mind, that if you paint fabric with a patterned texture, the texture will show through your paint. In this case, the pattern shows, but I like it.

I added new trim using Loctite Flexible Adhesive for fabric.


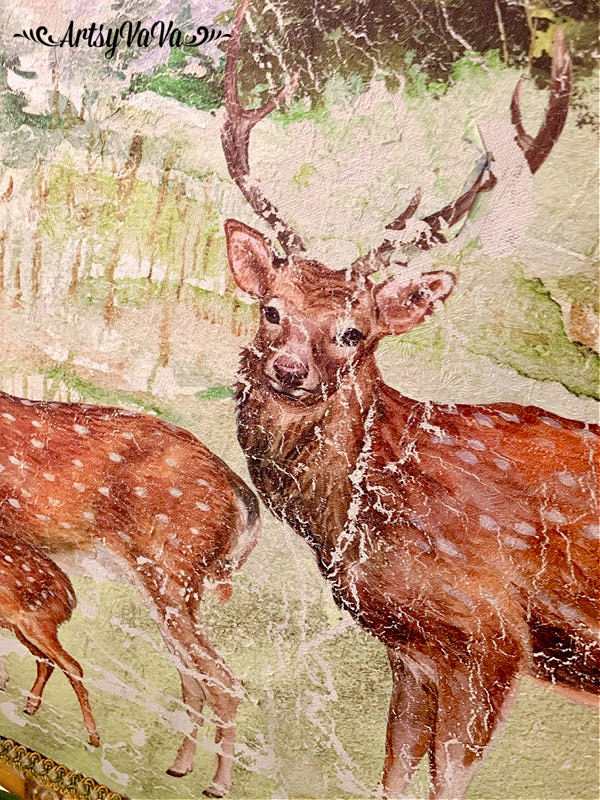
For the back of the chair, I chose the Fauna transfer from Re*design With Prima.

Before applying the transfer, I covered the trim with painters tape to prevent the transfer from sticking to it.


Because the padded back of the chair was flexible & you have to rub hard to make the transfer stick, the design cracked. The cracking was perfect! It made the back of the chair look & feel like leather.


Once finished, I sealed the chair with Dixie Belle's Best Dang Wax in clear.


This was, yet again, another piece I intended to sell but couldn't part with (even though I have nowhere to put it)!


For more on painting upholstery, go HERE.

Related Posts Plugin for WordPress, Blogger...