Showing posts with label stenciling. Show all posts

Monday, December 27, 2021

DIY House Number Sign

 I am fortunate to know a few people in the construction business who give me things before they go on the burn pile. Sometimes the fire is already lit & I have to act fast! Recently I was given some beautiful old molding that came out of a house before a remodeling job. It was perfect for creating my new house number sign.

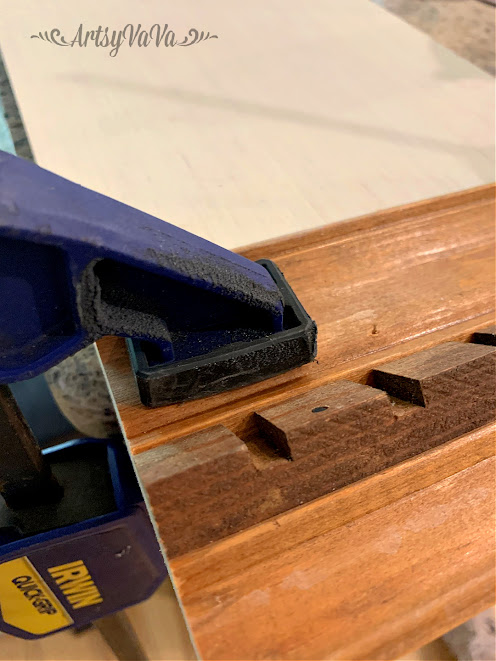
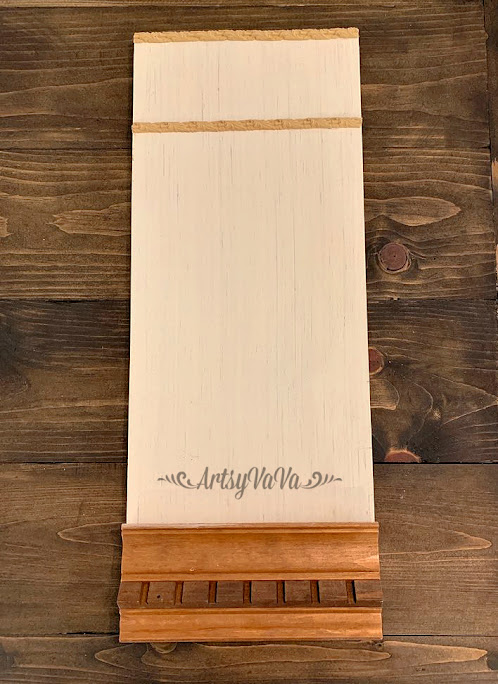
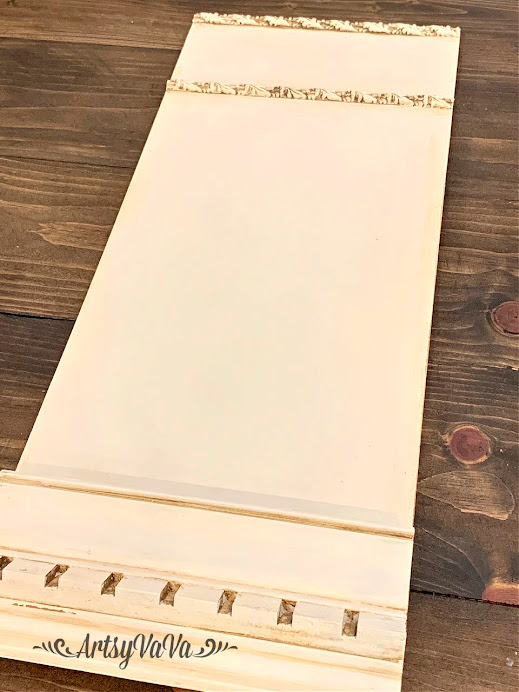
I cut the molding to get a piece that was 8" long, then glued and clamped it to an 8" x 20" sign blank from Signopoly. I allowed it to dry overnight.
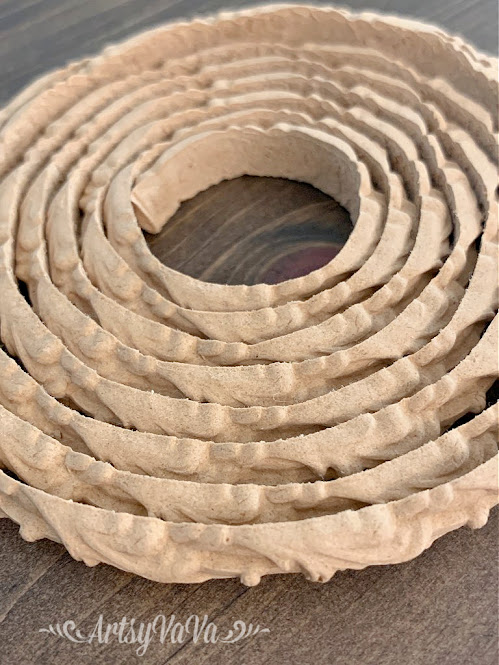
I grabbed some of my WoodUBend trim to add to my sign. The trim is very brittle, but once you add heat to it, it becomes flexible.

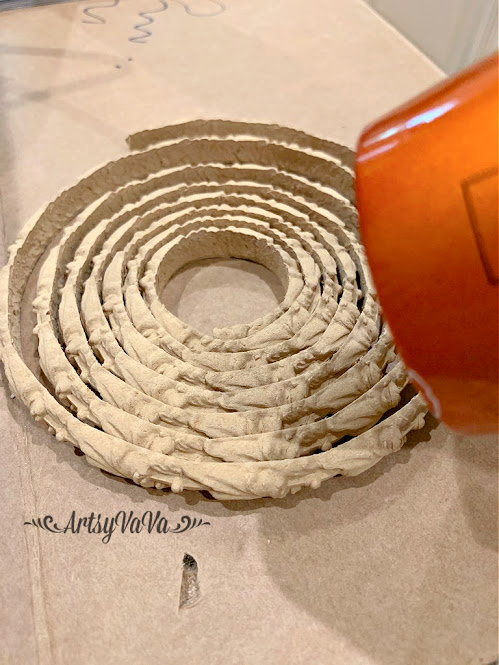
You can use a heat gun on the WoodUBend, but it also works well with a hair drier. I put my hair drier on the HOT setting & warmed the trim until it was pliable.
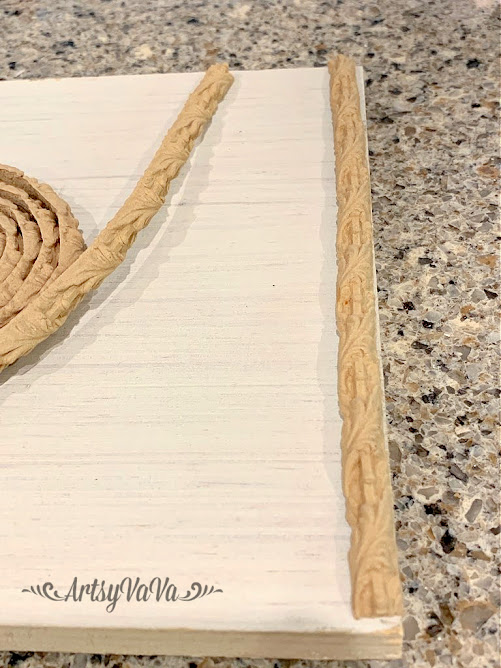
Using an Xacto knife, I cut two sections of the trim to fit across the sign. 
I glued them onto the board using E6000.
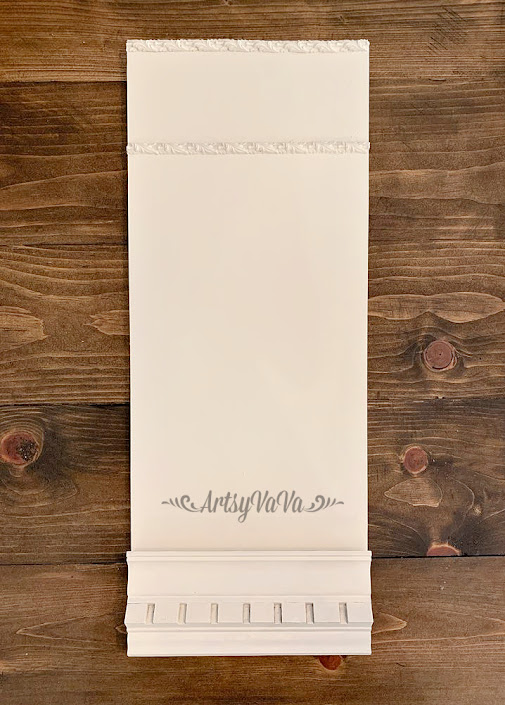
I painted the entire piece with the color, Fluff, from the Dixie Belle Paint Company. I did 2 coats for good coverage.

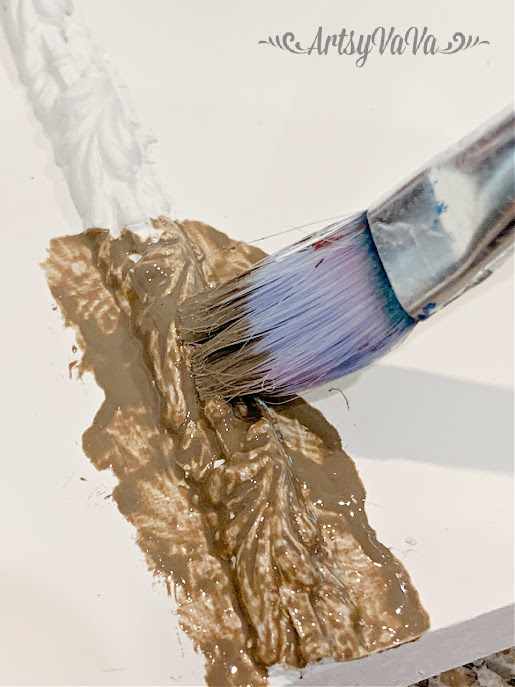
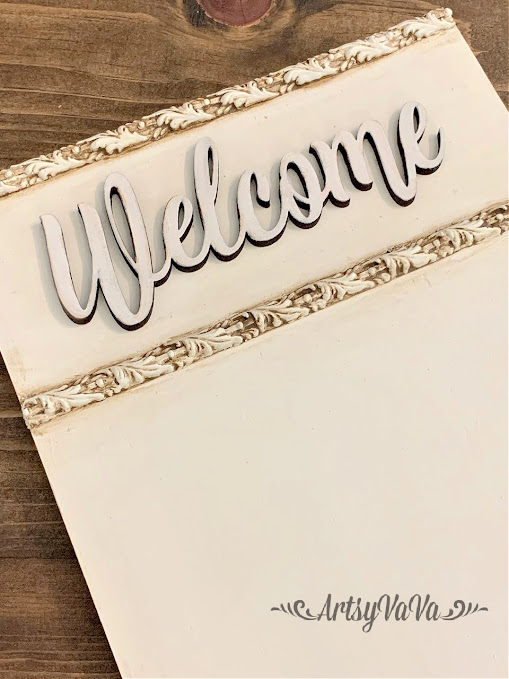
To accentuate the details of the trim & molding, I added Dixie Belle's glaze using the color, Van Dyke Brown. I painted the glaze on heavy to ensure it got down into all the grooves of the trim & molding.
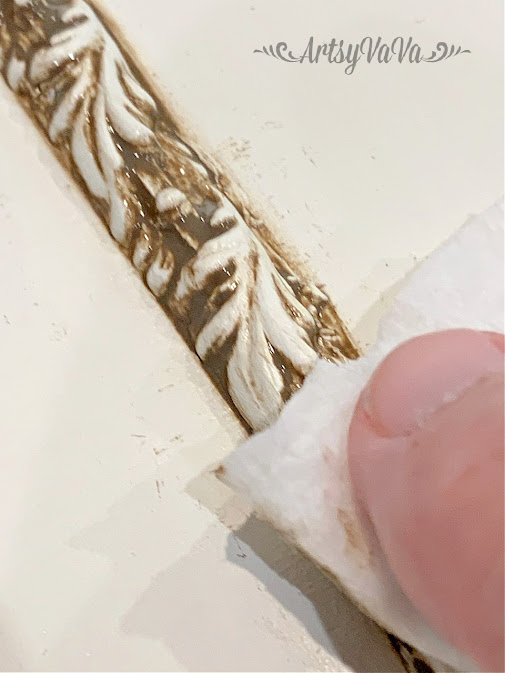
I used a damp rag to wipe away the excess glaze.

I added more glaze to the board so there wouldn't be such a stark contrast between the "dirty" trim & bright white board.

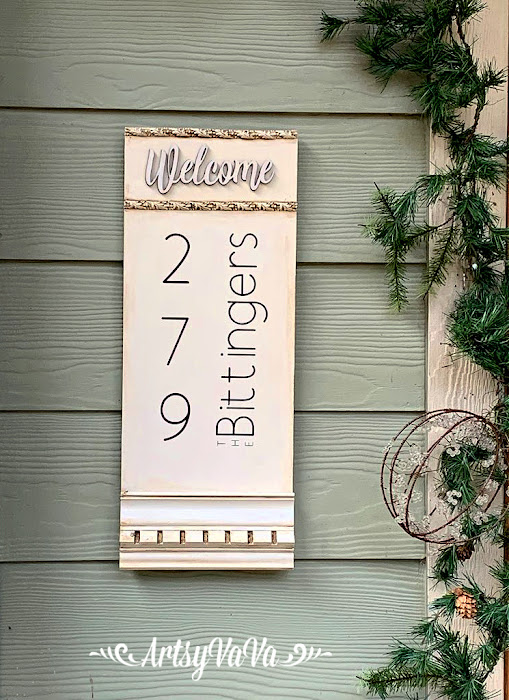
I painted a wooden "Welcome" from Signopoly with the color, Fluff. The laser cutter leaves the edges of the cutout dark. I was careful not to paint over the edges so I would have the contrast between the welcome & the board. I glued the welcome onto the board between the 2 pieces of WoodUBend trim using E6000.
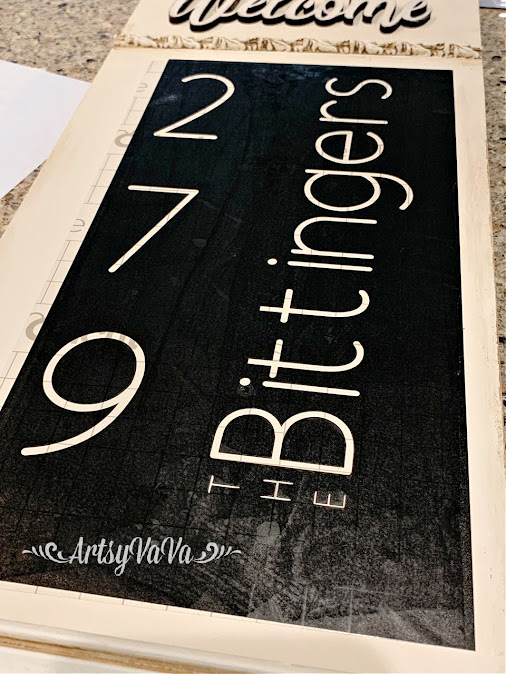
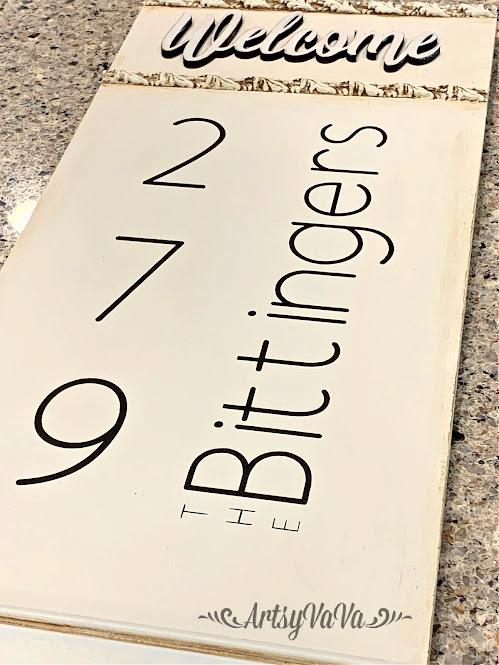
I made a vinyl stencil using my Cricut Maker.
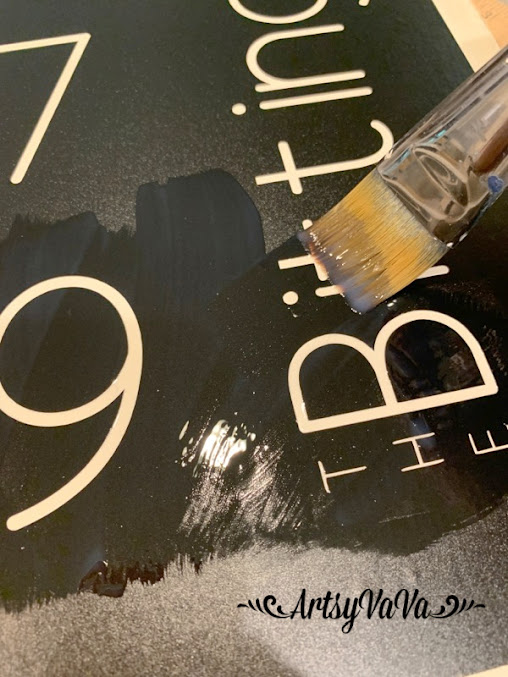
These stencils work great, but for added protection from paint bleeding under the stencil, I added Dixie Belle's Clear Coat. This creates a barrier to prevent bleeding.
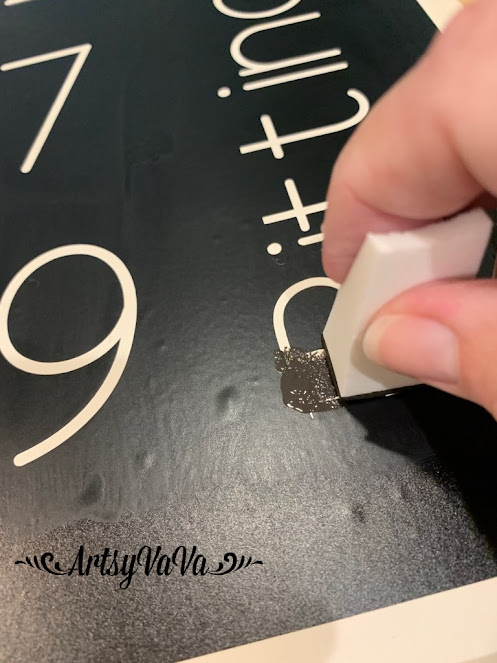
Once the Clear Coat was dry, I used a makeup wedge & the color, Coffee Bean to paint over the stencil. I did 3 thin coats using a pouncing motion.

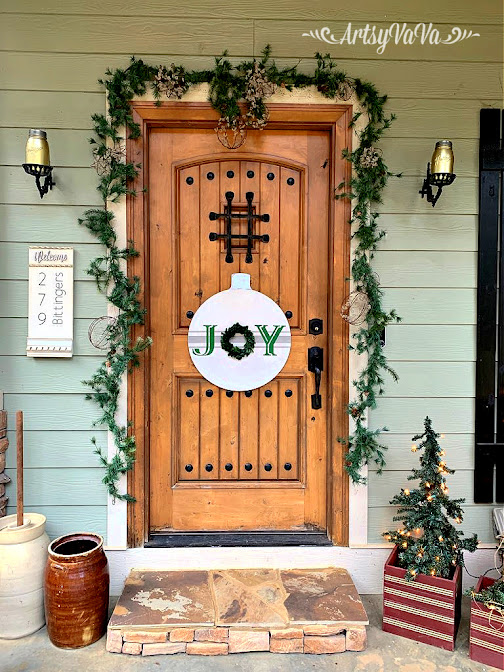
Now there's no question whether you are at the right house or not!


Linking To:

Friday, January 15, 2021

Trucking Into February

 The Christmas wreaths are put away, and now it's time to think about Valentine's Day.

This adorable door hanger was so fun & easy to make. And, I got to try out something new... cutting veneer with my Cricut!

I started with 2 large wooden tags. I painted one with the color, Fluff, from the Dixie Belle Paint Company. I downloaded an SVG file from ETSY of a truck filled with hearts, & cut a vinyl stencil using my Cricut Maker.


I used the colors Barn Red & Caviar on the stencil.


While the paint dried, I covered the other tag with a buffalo check paper napkin.

I used my Cricut Maker to cut out the word, love, using veneer.

I also cut strips with the veneer to make rails on the truck.


I glued the love onto the tag covered with the napkin...

I added a simple bow at the top...
Now I'm trucking into February with a super cute door!


Linking To:

Sunday, June 28, 2020

Hello Summer Door Hanger

I'm back with another fun project to celebrate Summer... my favorite season!
I've shared quite a few of the wooden cutouts from Signopoly that make great door hangers or home decor. And, these sunglasses are super cute!
 I painted the frame with the color, Tree Frog Green. This is just a base because I did something fun with this color later on.
 If you've been here before, then you know that I love Dixie Belle Paint & use it for everything. It's intended for painting furniture, but the colors are so gorgeous that it's great for projects like this.
I painted an ocean sunset on the glasses...


 Then I added some palm trees...
 I made a vinyl stencil using my Cricut Maker to say, "hello summer." 
I added a yellow highlight to the letters.

 I added Dixie Belle's Crackle medium over the Tree Frog Green and let it sit overnight before adding a top color.
After letting the Crackle medium dry overnight, I painted over it with the color, Daisy.
 I used a Prima mould & modeling material to create a little flower embellishment for the corners of the glasses.
Hello Summer!!! Let the fun begin!


Linking To:

Monday, September 30, 2019

Welcome To Our Patch


My friend, Cindy, went to a yard sale that another friend, Kris, was having and bought a few projects  things for me. It looked like these boards were the beginnings of a flag. The solid board was painted blue, & came with a star. Of course, I tend not to use things for their intended purpose, & with it being Fall, I saw a pumpkin.
 I just got the Cricut Maker & look for any opportunity to use it! So, I thought this was a perfect project to play around with.
I used the Cricut Design Space to find an already made pumpkin patch design and cut a vinyl stencil. I painted the blue board with the color Caviar from the Dixie Belle Paint Company, then added the stencil.
 I added a coat of Dixie Belle's saeler, Gator Hide, over the stencil. This will help prevent the paint from bleeding under the stencil.
 Once the Gator Hide was dry, I used the color, Sand Bar, over the stencil. I have found that the best tool for stenciling is a makeup sponge.
 I pulled up the stencil and the design came out perfect. No bleeding under the stencil thanks to the Gator Hide & makeup sponge!
 On the unfinished boards, I painted them with the colors Terra Cotta & Colonel Mustard, blending them as I painted. Then I added a little Van Dyke Brown Glaze.
 I made a stem by using Voodoo Gel Stain in the color, Tobacco Road, on the raw wood. I added a little of the Caviar paint to define the bottom of the stem.


 I had 3 of the boards, so I used the text feature on the Cricut Maker to make more stencils that say, "welcome to our patch."


I'm loving the Cricut Maker. I may never do hand lettering again!


Linking To:
Related Posts Plugin for WordPress, Blogger...