Friday, December 8, 2017

DIY "Rust"ic Ornaments

It's beginning to look a lot like a "rust"ic Christmas! 
Creating rust is easy with the Patina Collection from the Dixie Belle Paint Company.
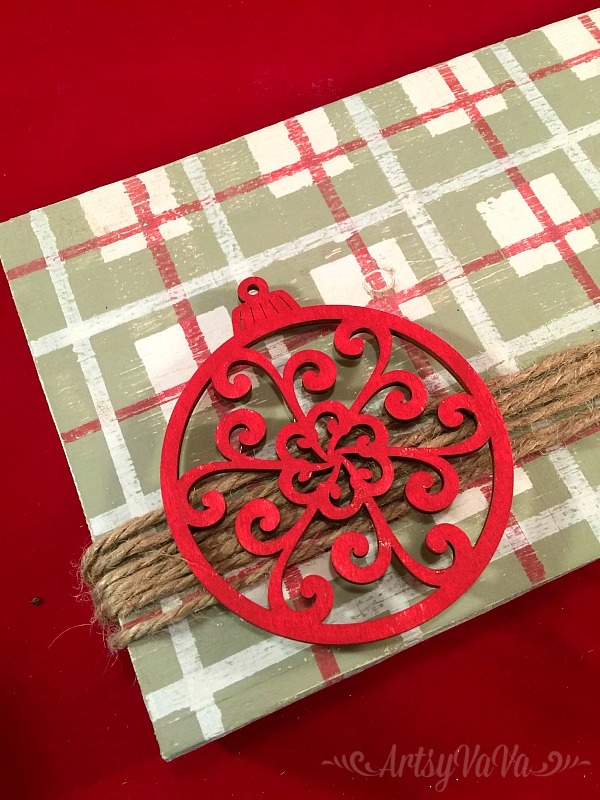
I started with a plain wooden ornament. It had a red ribbon which I removed.
 I gave the ornament a coat of Dixie Belle Paint. I used Barn Red, but the color doesn't matter because in the end it won't show. The patina needs something to grab onto, so that's why you can't skip this step.
 To create rust, I used the Iron Patina Paint. It has metal in it which can settle, so I gave it a good shake then painted one coat of the iron paint onto the ornament.
 I let the first coat of the Iron paint dry completely. Then I painted a second coat of the Iron Patina Paint.
 While the second coat was still wet, I sprayed it with the Green Patina Spray. 

 The spray reacts with the iron to create rust. The process begins to happen quickly, but can take up to 6 hours to complete.
 Look at that beautiful rust!
 I added a sweet little wooden deer to the ornament using E6000. Keeping with the rustic theme, I added jute to hang the ornament.
 You could stop there, but I wanted the deer to blend more with the color of the rust. So, I added Bronze Gilding Wax.
 You can use a brush, but I prefer to apply it with my finger.


 Here's a look at the progression...
 Warning: If you use this product, you will want to rust everything!!!


Linking To:
Coastal CharmGinger Snap CraftsCreations By KaraRae Gun RamblingsMade In A DayChic On a ShoestringSimply Sweet Home, The Shabby Nest Somewhat Simple,   Live Laugh Rowe, Have A Daily Cup Of Mrs OlsonThe Cottage Market,  Funky Junk InteriorsDIY Showoff, Craft-O-Maniac, Keeping It Simple, I Should Be Mopping The Floor, The Dedicated House Coastal Charm, Reasons To Skip The Housework, Sugar Bee Crafts,  Nifty Thrifty Things, Cherished BlissMad In Crafts, Flour Me With Love, Not Just A HousewifeToday's Creative Blog, Tip Junkie Homework,  I Gotta CreateThrifty 101 Domestically Speaking,  The Answer Is Chocolate, Skip To My LouThe Thrifty Home,Cedar Hill RanchFlutter BusterNap Time Creations, Hope In Every Season, The Foley FamOur Home Away From Home,  RemodelaholicFlamingo ToesVMG206 Finding Silver PenniesA Stroll Thru Life, French Country CottageThe Scoop, Stone Gable, Knick Of Time, Lou Lou GirlsOur Hopeful Home, The Painted Hinge, Savvy Southern Style, Tattertots & Jello, Yesterday On Tuesday, Rachel Teodoro


Tuesday, December 5, 2017

Mad About Plaid

Cold weather and plaid go together like hot chocolate and marshmallows. Nothing feels better in the Winter  than a plaid flannel shirt or cozy blanket. Add the warmth of plaid to your Winter décor with this do it yourself frame. 
Supplies:
Wood Block
Paint in 3 colors
Paintbrush
1 inch Painters Tape
Sandpaper
Jute
Glue
Wooden Embellishment (optional)
 Cut a 1 x 6 board to 10 inches long. If you don’t have the tools needed to cut the board, your local home improvement store will cut it to the desired length for you. Sand the ends to make them smooth and remove any splinters.

Paint the block of wood with one of the 3 colors & let dry. I started with a base coat of the color, Fluff, from the Dixie Belle Paint Company.

 Line up a piece of the painters tape horizontally across the edge of the block of wood. Line up a second piece of painters tape along the edge of the first piece of tape. Continue this process until the block of wood is covered.
 Once the block in covered, remove every other row of tape. 

 Paint the exposed rows with a second color of paint & let dry. For this, I used Dixie Belle's paint color, Dried Sage. Repeat this process vertically across the block. Let dry.


 Place painters tape horizontally across the block to form small stripes that will cross over the original base color and the second color. Fill in with the third color of paint, like Dixie Belle's Barn Red seen here. Repeat this process vertically.


 Place the tape horizontally across the block to form small lines across the second color of paint. Fill in with the base color and then repeat vertically.

Sand the block to give it a worn look. This will also mask any imperfections in the lines.

 Cut a piece of jute that will wrap tightly around the block seven times and secure on the back of the block with glue.


Optional: To add a holiday touch, paint a wooden Christmas embellishment with one of the paint colors, and glue it onto the jute at one end of the block.

Tuck your favorite photo into the jute, place on a table or shelf, and go mad for plaid!


Linking To:
Coastal Charm,  Someday CraftsGinger Snap CraftsCreations By KaraRae Gun Ramblings The Shabby Creek Cottage,  Made In A DayChic On a ShoestringSimply Sweet Home, The Shabby Nest Somewhat Simple,   Live Laugh Rowe, Have A Daily Cup Of Mrs OlsonThe Cottage Market,  Funky Junk Interiors,   Blissful & Domestic, A Vision To Remember  DIY Showoff, Craft-O-Maniac, Keeping It Simple, Homemaker On A Dime, I Should Be Mopping The Floor, The Dedicated House Coastal Charm, Reasons To Skip The Housework, Sugar Bee Crafts,  Nifty Thrifty Things, Cherished BlissMad In Crafts, Flour Me With Love, Not Just A HousewifeToday's Creative Blog, Tip Junkie Homework,  I Gotta CreateThrifty 101 Domestically Speaking,  The Answer Is Chocolate, Skip To My LouThe Thrifty Home,Cedar Hill RanchFlutter BusterNap Time Creations, Hope In Every Season, The Foley FamOur Home Away From Home,  RemodelaholicFlamingo ToesVMG206 Finding Silver PenniesA Stroll Thru Life, French Country CottageThe Scoop, Stone Gable, Knick Of Time, Lou Lou GirlsDIY-Crush, Our Hopeful Home, The Painted Hinge, Savvy Southern Style, Tattertots & Jello, Yesterday On Tuesday, Rachel Teodoro


Related Posts Plugin for WordPress, Blogger...