Saturday, April 2, 2011

Spring Has Sprung and Unsprung

I know...unsprung is not a word. But it sure seems that it should be! We had an especially cold winter and for at least a month now, one day it is a beautiful warm sunny Southern day and the next it is cold and rainy again.  I think our April fools joke was that it looked like a normal pollen filled warm Spring day but once you opened the door you got a little burst of cool air. But have no fear, the next couple of days are going to be warm and sunny!

The flowers have not let the fickle temps bother them. They are beautiful. The daffodils are winding down and the azaleas and dogwoods are in full bloom. Anyone who knows me and has been in my house knows that I LOVE COLOR! So everything is right with the world now that the outdoors is colored in greens, and pinks, and reds, and yellows.


 So, in honor of the blooms, I am going to show step by step instructions for making Origami flowers. Why not bring some flowers into your home that will last forever? Don't be intimidated by this project...it's easy once you get the hang of it. All the paper folding may seem confusing at first, but trust me, you will have an "ah ha" moment and then you will turn out lots of flowers in no time at all.

Supplies:
1.Coordinating paper cut into squares. For this demo, I cut the paper into 6" squares. The larger the square, the larger the flower. You can also use newspaper or magazine paper.
2.Tape
3. Glue...I used a hot glue gun but you can use super glue or E6000. Double sided tape would also work.
4. Buttons or anything else to embellish the center of your flower (optional).
These are the coordinating papers I used for the demo. Tip: if your paper is too thick it will be harder to fold.

Step 1:   Fold your paper in half to form a triangle.


Step 2: Fold each side point up to the center point.

 Step 3: Fold in half  the 2 sections you just completed.

 Step 4: Open and flatten the section you just folded. This forms a pocket.

 Step 5: Fold the top section down into the pocket.


 Step 6: Fold bottom section of each side at the crease and then bring the sides together and secure with tape.


 Once you have completed 6 petals, join them together with glue. I like to use 4 petals of one paper and 2 of another to form my flower. I cut the tip off the base of my petal so that I can glue the flower flat onto another surface.


I like to add a button or some other embellishment to the center of my flowers.


 Here are a couple of completed examples of what I have done with my paper flowers. For these examples, I painted stretched canvas and glued sticks from my yard onto the canvas. I also used some fishing line and sewed around the sticks in a couple of places for stability. I then glued on 3 paper flowers. Now I have a touch of Spring all year!


 These paper flowers can also be glued onto sticks and placed in a vase or pot.


Saturday, February 12, 2011

Craft Day With The Girls

This week some  friends came over for craft day and we created the cutest Valentines! This is a quick and easy project so you still have time to make this before the 14th. This would also be a great project for Easter or Mother's Day. I got the idea from a project I saw at http://www.stampington.com/ and I just tweaked it a little.

What you'll need...
corrugated cardboard
acrylic paint
hole punch
cord
scrapbook paper with different designs and colors
glue
scissors
buttons
3/4" circle punch *
1" circle punch *
1" heart punch *
* you can cut these shapes out by hand if you don't have the punch

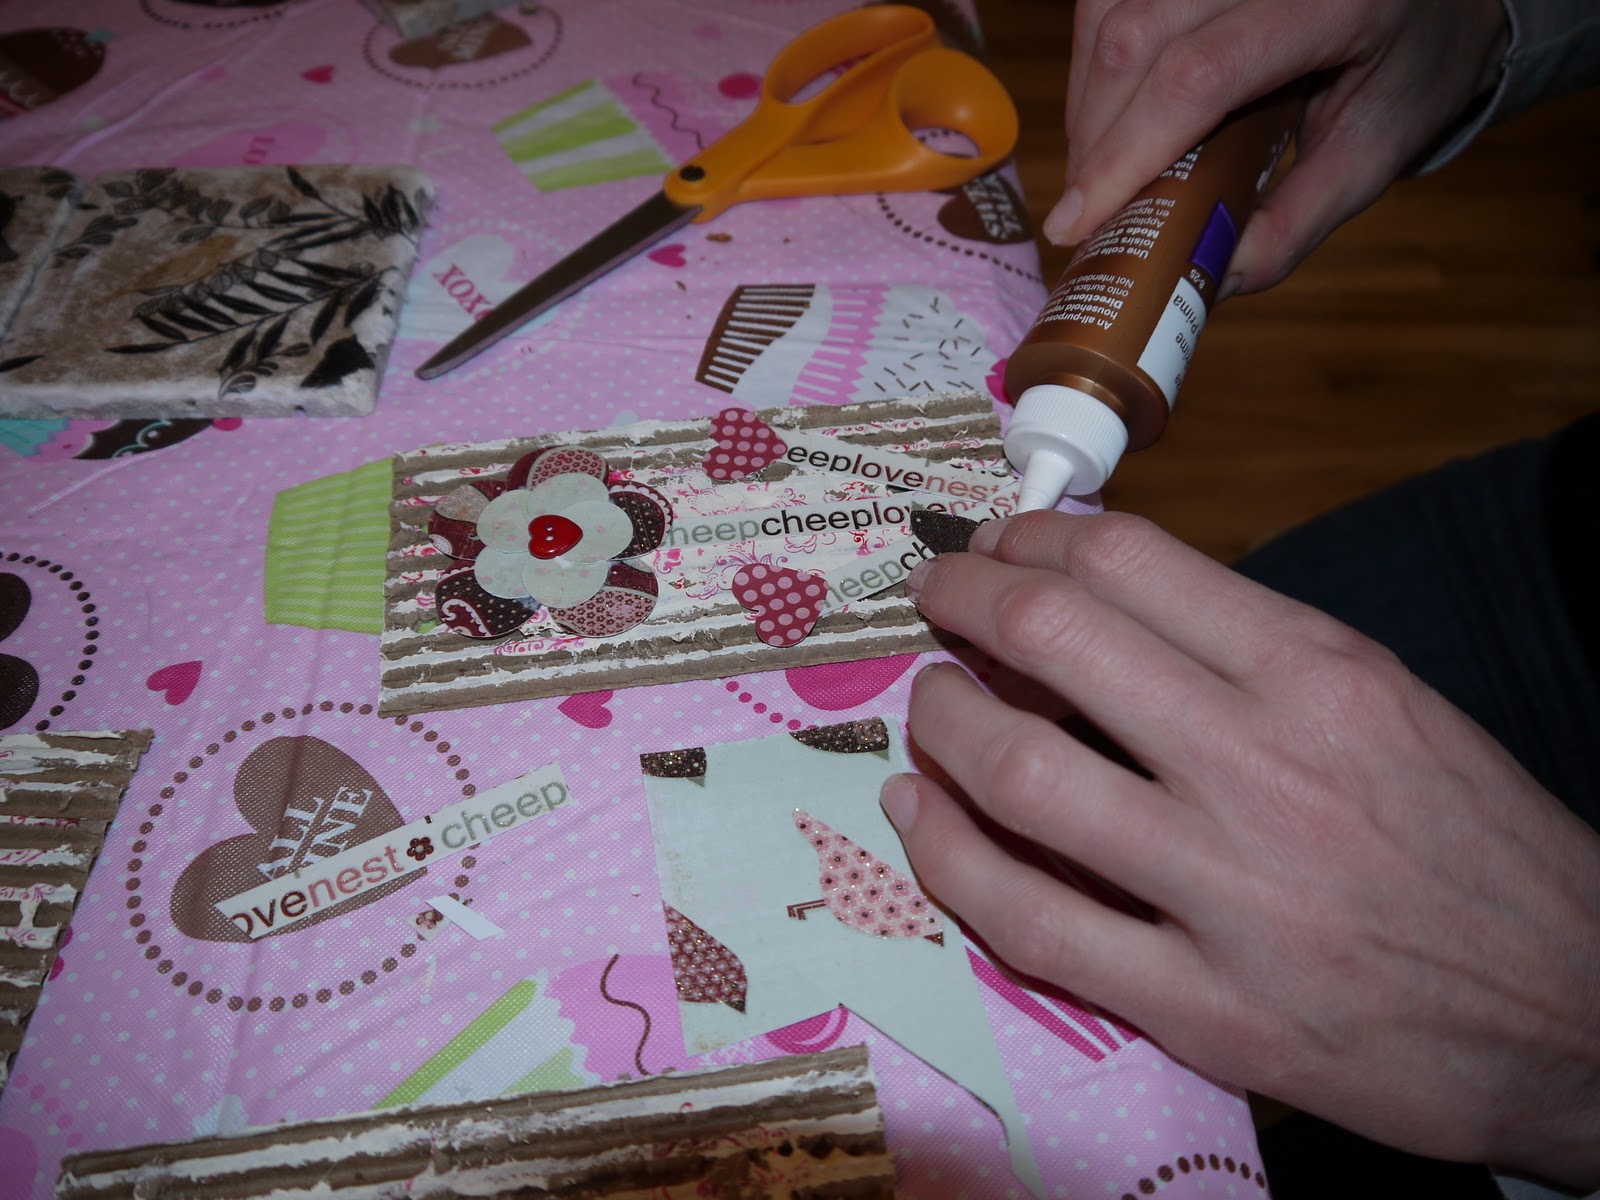
Start by peeling away pieces of the outer layer or paper on the cardboard to give it texture.


Next add some acrylic paint to the center of the cardboard and spread it without covering the entire cardboard. We used old credit cards and room key cards to spread the paint.


While the paint dries, pick your colors for the stems and petals out of different scrapbook paper. Cut a stem for your flower plus a smaller stem coming of the main stem. Using the heart punch, cut 2 hearts which will be your leaves. Using the 1" circle punch, cut 5 circles using a dark color. Next cut 5 lighter color circles using the 3/4" circle punch.


Next glue on your stems and leaves. Then start your flower by gluing the large circles first then add the smaller circles. Once your flower is glued on, add a button to the center. Punch 2 holes in the top and thread with cord, ribbon, or wire.

You can embelish these cute Valentines so many different ways! As you can see above, I added a bird to one and used the buttons for leaves on another.
Here's one that Jenny came up with...
I  had so much fun with the girls! Give this craft a try. It gets 5 stars for easy and 5 stars for cuteness which makes it a perfect 10!


Saturday, January 22, 2011

Bangles And Baubles And Beads, Oh My!

I have always dabbled in jewelry making. When I was little, I would tie dandelions together to make beautiful rings, necklaces, and bracelets...I think every little girl has done that at some time or another. Unfortunately after about 30 minutes these natural beauties start to wilt. I made a couple of copper pieces in college. Looking back, they were really ugly.

After college, one of my roommates from my time at Mercer University, and I tried our hand at jewelry making. Mary and I would cut the tops off of beer or soda cans, smash them flat with a hammer, use hot glue to make designs on them, then paint them and hang beads from them. Sounds lovely right? Hey, it was the 80's! A time of big hair, big shoulder pads, and yes, big earrings. We actually sold a few!

When Kevin and I were living in Cincinnati, I would make earrings out of paintings I did with watercolor. I would tear the painting into small pieces, then fold it and seal it with something to make it hard and shiny. Once again, not something you'd wear now, but they were okay for the time period. I actually had a store buy them from me and was so excited! I didn't get rich by any means. I probably spent more in time and supplies than I made. Nonetheless, I enjoyed making them and was happy that someone else liked them too.

As much as I'd like to be a great jewelry designer, that's just not my thing. Oh, I make and sell some pieces here and there but nothing to call a real jewelry business. Especially not like my friend Cheryl. She started making mommy bracelets about 14 or so years ago. She has actually made a business that earns a living! She fortunately has not only talent, but business sense. Check her website out at www.MommyBracelets.com.

As for me, I'll just keep dabbling. Below is a project for a bangle bracelet I like to call Ooh La La. It's very, very easy so give it a try!!!

Supplies:
Wooden bangle from DiyBangles.com.
Acrylic paint. I used Folk Art in Lipstick Red.
Rubber Stamp.
Ink Pad. Do not use one that is washable or it will smear when you seal it.
Diamond Glaze or any sealer.
Pendant or charm.
E6000 glue.


Directions:

Step 1:    Paint the wooden bangle with acrylic paint. I painted 3 coats to get good coverage. If you use a different color you may only need to do one or two coats. Red is always the hardest color to get good coverage. If you want a more natural look. you could stain the bangle or leave it plain. Allow paint to dry completely between coats.

Step 2:    Once your bangle is dry, put ink on your stamp and begin stamping the bangle until you have covered the entire bangle with your stamp design.


Step 3:   Seal your bangle inside and out with Diamond Glaze or a polyurethane of your choice.

Step 4:   Put E6000 glue on the back of the charm or pendant and place it onto the bangle.


Step 5:   Wear and Enjoy!!! Told you it was easy!!!


Here is another bangle bracelet...I glued scrapbook paper to the inside of the bangle then hand painted the outside with designs found in the paper.


Thank you to my daughter, Carrie, for being an awesome photographer!
Related Posts Plugin for WordPress, Blogger...