Showing posts with label crackle. Show all posts

Tuesday, March 29, 2022

Bunny Trail Sign DIY

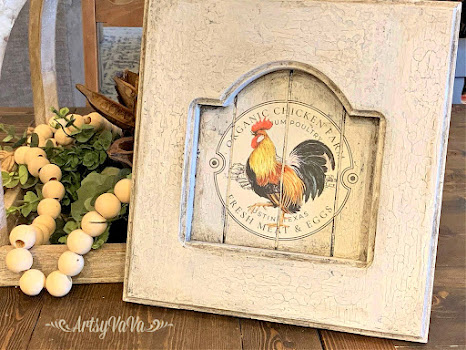
 Living in the country, there's no shortage of rabbit sightings. So, I don't need a sign to tell me where the bunny trail is, but I couldn't resist creating this cute sign for Easter.


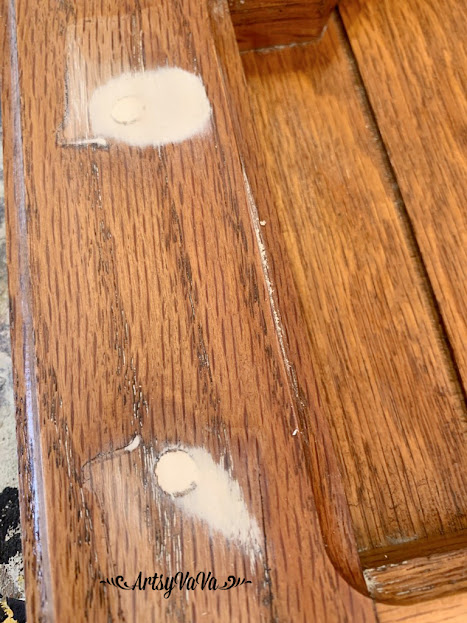
I started with a wooden sign blank from Signopoly.


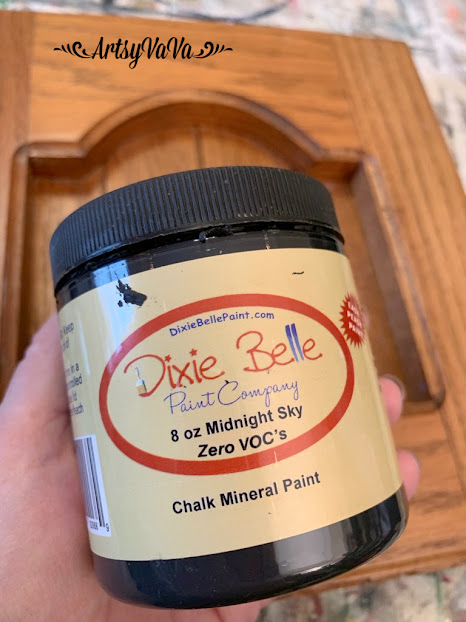
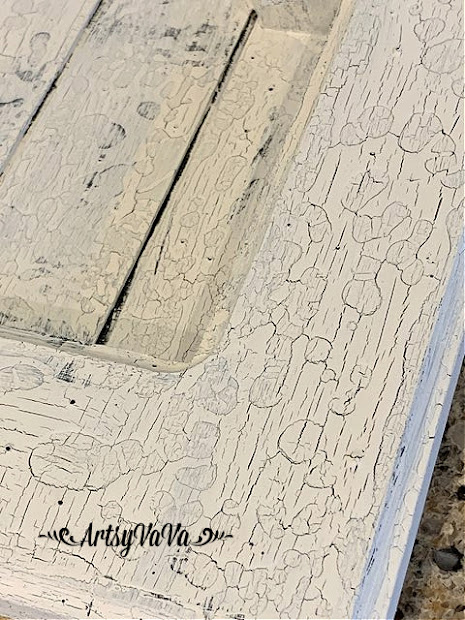
I wanted a vintage feel for the sign so I gave it a crackle finish. I wanted the cracks to be dark, so I first painted the sign with the color, Gravel Road, from the Dixie Belle Paint Company.


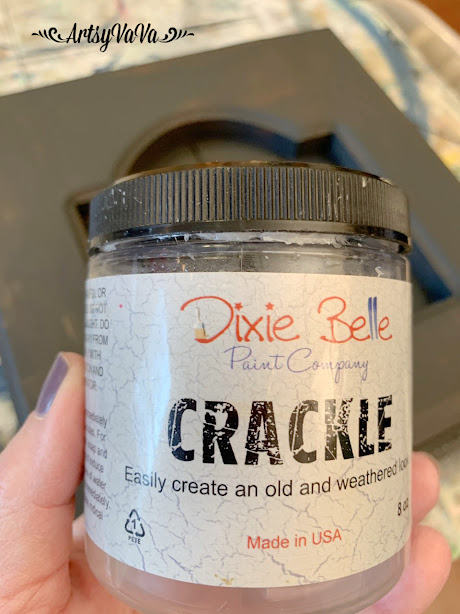
Once the paint was dry, I added a layer of Crackle medium. The crackle medium is very thick, so it needs to dry overnight.

The next day, I painted over the crackle with the color, Tea Rose. The cracking starts to happen pretty quickly, so the key to being successful with crackle is to not overwork it. If you go back and forth with the paintbrush, you will fill in the cracks as they begin to form. So, I load my brush & go as far as I can with one smooth stroke.


I created the design in Cricut Design Space. There was not an arrow that went well with the font I used so I created one by turning 3 I's & a V on their side & joined them together.


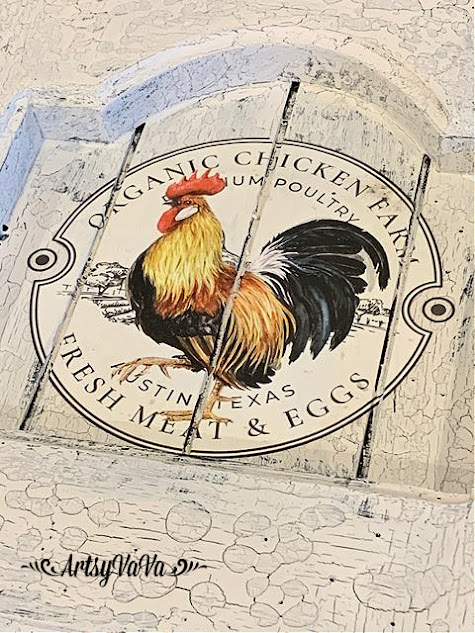
I made a stencil with my Cricut Maker by cutting my design out using adhesive backed vinyl. I placed the stencil on the sign, then used a makeup sponge to apply the color, Coffee Bean. I used a pouncing motion to apply the paint.


I used very little paint to ensure that the paint didn't bleed under the stencil. The first coat always looks bad...


It took 3 coats for perfect coverage...


It's time to be on the lookout for the Easter bunny to come hopping down the bunny trail!


Linking To:

Thursday, February 10, 2022

From Cabinet Door To Farmhouse Style Decor


Have I ever mentioned that I teach cabinet painting workshops? Well, I do. And, I am fortunate to have a friend who remodels kitchens & bathrooms & gives me doors that he tears out of remodeling jobs. 

The doors he gave me from a recent project were a little more special. He was remodeling the kitchen of another friend, Terry, in the house she inherited from her sweet mother.
Most of the doors will be used for classes. However, there are some little doors that are the perfect size for home decor. The one I used for this project is only 11" x 11".
I cleaned the door well with White Lightening from the Dixie Belle Paint Company to remove any greasy residue. I rinsed well with water afterwards. I filled the holes where the handles had been with Dixie Belle's Mud. I let the mud dry overnight, then sanded it smooth.
I painted the door with the color Midnight Sky.
Because I planned on doing a crackle finish on the door, I didn't worry about perfect coverage of the Midnight Sky & only did one coat.
Once the paint was dry, I used a brush to apply crackle medium.
The crackle medium will quickly begin to "shrink" & look uneven. Don't worry...that's what it's supposed to do. So, don't overwork it trying to get an even finish.
I set the door aside to allow the crackle to dry overnight.
The next day I painted a coat of the color, Fluff, over the crackle. 
The cracking of the paint starts to happen quickly, so you can't overwork the paint. I made sure not to go back & forth with my brush.
Once the paint was dry, I added a cute little transfer from Re*design With Prima.
The crackle finish gives an aged, chippy look, however, I felt like the door looked a little too clean. I wanted to dirty it up a bit.
I could have aged the door with a colored glaze or wax, but I chose to put a little dirt on it... Dixie Dirt, that is. To me, this give it a more authentic dirty look.
I put a little Dixie Dirt & a little clear wax into a small, disposable cup. A little goes a long way.
I dipped a small, stiff, artist brush into the wax, then into the dirt. The dirt is a powder & needs the wax to stick to the door. I added the dirt to all the recessed areas & crevices.
I used a rag to wipe away anywhere that I felt had too much dirt.


The dirt added the perfect amount of grunge.
I gave the door back to Terry & it now sits on a bakers rack in the kitchen from where it originated.


Linking To:

Sunday, June 28, 2020

Hello Summer Door Hanger

I'm back with another fun project to celebrate Summer... my favorite season!
I've shared quite a few of the wooden cutouts from Signopoly that make great door hangers or home decor. And, these sunglasses are super cute!
 I painted the frame with the color, Tree Frog Green. This is just a base because I did something fun with this color later on.
 If you've been here before, then you know that I love Dixie Belle Paint & use it for everything. It's intended for painting furniture, but the colors are so gorgeous that it's great for projects like this.
I painted an ocean sunset on the glasses...


 Then I added some palm trees...
 I made a vinyl stencil using my Cricut Maker to say, "hello summer." 
I added a yellow highlight to the letters.

 I added Dixie Belle's Crackle medium over the Tree Frog Green and let it sit overnight before adding a top color.
After letting the Crackle medium dry overnight, I painted over it with the color, Daisy.
 I used a Prima mould & modeling material to create a little flower embellishment for the corners of the glasses.
Hello Summer!!! Let the fun begin!


Linking To:

Tuesday, February 13, 2018

Hold It! DIY Key/Necklace Holder

Create a unique place to hold your keys or necklaces with this easy to create DIY project.
I started with a pre-made pallet board from Michael's.
 I covered the pallet board with Dixie Belle's Crackle.

 Once the Crackle was completely dry, I painted the pallet board and a 6 x 6 balsa wood panel with the Dixie Belle color, Drop Cloth. 


 I added a small transfer from Iron Orchid Designs to the 6 x 6 panel.

 When the paint dried I covered the pallet board and the panel with Clear Wax then added Dixie Dirt.
 Dixie Dirt is a powder and the clear wax gives it something to stick to. I put the dirt on with a brush, then blended it in with a dry rag.

 I glued the 6 x 6 panel to the pallet board using E6000.
 Then I added rope around the panel using Tacky Glue.
 I finished it off with cup hooks.

 The pallet board had a jute cord for hanging, which I shortened so it wouldn't show. 
 Where'd I put my keys? Oh, there they are!


If you are interested in trying out any of the Dixie Belle Paint Company products used in this project, click HERE. I may receive a compensation from this affiliate link, however there will be no extra cost to you.

Linking To:
Coastal CharmGinger Snap CraftsCreations By KaraRae Gun RamblingsMade In A DayChic On a ShoestringSimply Sweet Home, The Shabby Nest Somewhat Simple,   Live Laugh Rowe, Have A Daily Cup Of Mrs OlsonThe Cottage Market,  Funky Junk InteriorsDIY Showoff, Craft-O-Maniac, Keeping It Simple, I Should Be Mopping The Floor, The Dedicated House Coastal Charm, Reasons To Skip The Housework, Sugar Bee Crafts,  Nifty Thrifty Things, Cherished BlissMad In Crafts, Flour Me With Love, Not Just A HousewifeToday's Creative Blog, Tip Junkie Homework,  I Gotta CreateThrifty 101 Domestically Speaking,  The Answer Is Chocolate, Skip To My LouThe Thrifty Home,Cedar Hill RanchFlutter BusterNap Time Creations, Hope In Every Season, The Foley FamOur Home Away From Home,  RemodelaholicFlamingo ToesVMG206 Finding Silver PenniesA Stroll Thru Life, French Country CottageThe Scoop, Stone Gable, Knick Of Time, Lou Lou GirlsOur Hopeful Home, The Painted Hinge, Savvy Southern Style, Tattertots & Jello, Yesterday On Tuesday, Rachel Teodoro


Related Posts Plugin for WordPress, Blogger...