Showing posts with label paint. Show all posts

Sunday, July 30, 2023

Dragonfly Art With Terra Clay Paint

 One of my favorite things about summer...

dragonflies!

I also love creating art with Terra, a clay based paint from the Dixie Belle Paint Company. So, I combined my love of both dragonflies & Terra to create a pretty piece of art.


I started by painting a wooden canvas with Dixie Belle's chalk mineral paint in the color, Caviar. Then I used a Re*design With Prima decor stamp  called, Handwritten Note, along with Dixie Belle's metallic paint to add an all over design to the background.

I used my Cricut Maker to create a vinyl stencil of a dragonfly, & placed the stencil on the center of the canvas.

Now for the fun... I started finger painting with Terra.


Terra is perfect for furniture, especially if you want a blended or ombre look. It reactivates with water so once you mist it with water, you can move it around. Because it reactivates with water, it is very important to seal it, especially if you use it on furniture.

Once I laid out a few colors, I used my mister bottle to add a little water so I could easily blend the colors. 


If I had painted the background color with Terra, it would have blended with the dragonfly colors once I wet it. That's why I used chalk mineral paint as the base. Another option would have been to use Terra, then seal it before painting the dragonfly.


Once the Terra was dry, I added Chameleon Wax to the body of the dragonfly. This is an iridescent wax that looks  different depending on the color it is applied over.


I used my finger to apply the wax.


I peeled up the vinyl stencil to reveal my pretty dragonfly.


Here is a piece of art I created after watching a video by Melissa of  The Top Drawer RVA. She shares the steps to painting beautiful roses with Terra. You can find her tutorials HERE.


Linking To:

Saturday, February 25, 2023

Tobacco Basket Makeover

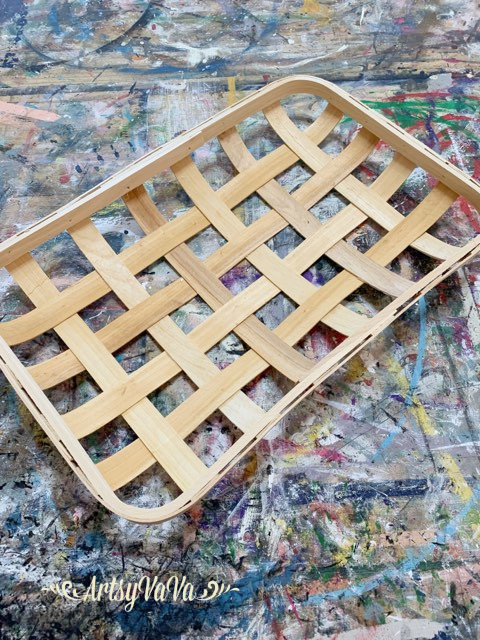
 I have never seen rectangular tobacco baskets before, & when I came across this unique shape & size I bought a few. I wasn't sure what I wanted to do with them but knew something would come to me. And, like so many ideas, this one came to me in the middle of the night. Luckily, I remembered it when I got up the next day!

The basket was unfinished so I stained it with Dixie Belle Paint Company's Voodoo Gel Stain in the color, Up In Smoke. The stain is water based so it makes for easy clean up.


I then painted a 4" x 12" canvas panel with the chalk mineral paint color, Vintage Duck Egg.

Once the canvas panel was dry, I used a brayer to add the color, Fluff, from Dixie Belle, to a decor stamp from re*Design With Prima.

While the paint was wet on the stamp, I stamped it onto the canvas panel. 

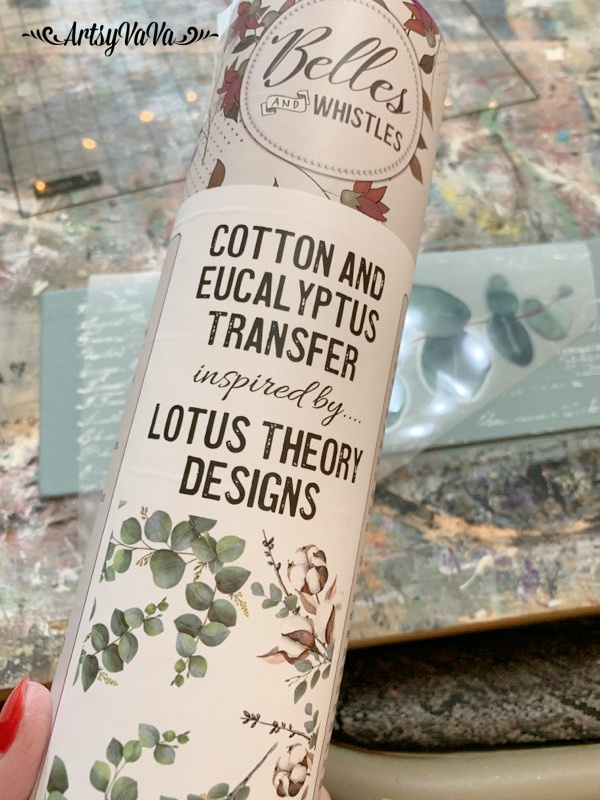
Next, I used the Cotton & Eucalyptus transfer from Dixie Belle to embellish the canvas panel further.

The transfer comes with 4 sheets & multiple designs. I started with a sprig of eucalyptus. I cut out the section that I wanted to use, removed the white backing, then used the tool included in the package to rub the transfer onto the canvas.


Then I added some cotton, overlapping it with the eucalyptus.


I glued the canvas panel to the center of the basket using E6000.

I formed some Spanish moss from the Dollar Tree into a nest, added some eggs, then glued it into the corner of the basket.


I'm excited to incorporate this piece into my Spring decor.


Linking To:

Friday, February 3, 2023

Mixed Media For Valentines Or Anytime

 What do you think of when you think of Valentine's Day? For me, it's flowers & candy. This mixed media project includes flowers, but not candy... I'm on a diet! And, the colors make it perfect to keep displayed year round.


I started by painting a 10" x 7" wooden heart with the color Fluff from the Dixie Belle Paint Company.

I cut a piece of decoupage tissue paper from Re*design With Prima, called Zoey, to fit across the top of the heart. I applied the tissue paper to the heart using Dixie Belle's Clear Coat, but you could use ModPodge.


I used a 120 grit sandpaper to remove the excess paper. I placed the sandpaper at a 45 degree angle to the edge of the heart & used a downward motion to sand off the paper.


I stenciled a design on the rest of the heart using the color, Gravel Road. I like to use a makeup wedge to stencil. I off loaded most of the paint to prevent the paint from bleeding under the stencil. I could've added a second coat to get good coverage, but I wanted more of an irregular, worn finish.


I added two greenery stems, from Prima, by putting a little glue at the base of the stems. 


I placed a floral cardboard sticker at the top of the greenery. I didn't trust that the sticky back would hold, so I added some glue.

I glued two flowers onto the heart, letting them come off the edge of the heart.

I added a pretty butterfly cardboard sticker to the flowers.


I could've stopped there and it would've been fine, but let's keep going!

I added a second butterfly & another cardboard sticker that says, "Bee-you-tiful" to complete the Valentine.


You can use any colors for this project, so if you're not a fan of red & pink in your decor, you can pick colors that work for you.


Just about anything goes at my house. Can you tell I like color?


Linking To:
Related Posts Plugin for WordPress, Blogger...