Saturday, February 25, 2023

Tobacco Basket Makeover

 I have never seen rectangular tobacco baskets before, & when I came across this unique shape & size I bought a few. I wasn't sure what I wanted to do with them but knew something would come to me. And, like so many ideas, this one came to me in the middle of the night. Luckily, I remembered it when I got up the next day!

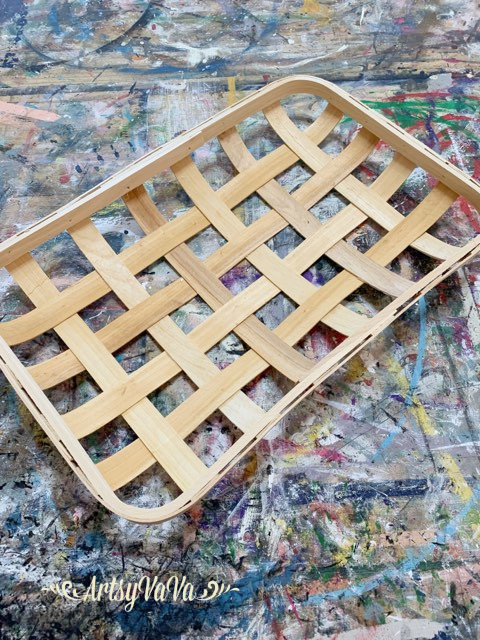
The basket was unfinished so I stained it with Dixie Belle Paint Company's Voodoo Gel Stain in the color, Up In Smoke. The stain is water based so it makes for easy clean up.


I then painted a 4" x 12" canvas panel with the chalk mineral paint color, Vintage Duck Egg.

Once the canvas panel was dry, I used a brayer to add the color, Fluff, from Dixie Belle, to a decor stamp from re*Design With Prima.

While the paint was wet on the stamp, I stamped it onto the canvas panel. 

Next, I used the Cotton & Eucalyptus transfer from Dixie Belle to embellish the canvas panel further.

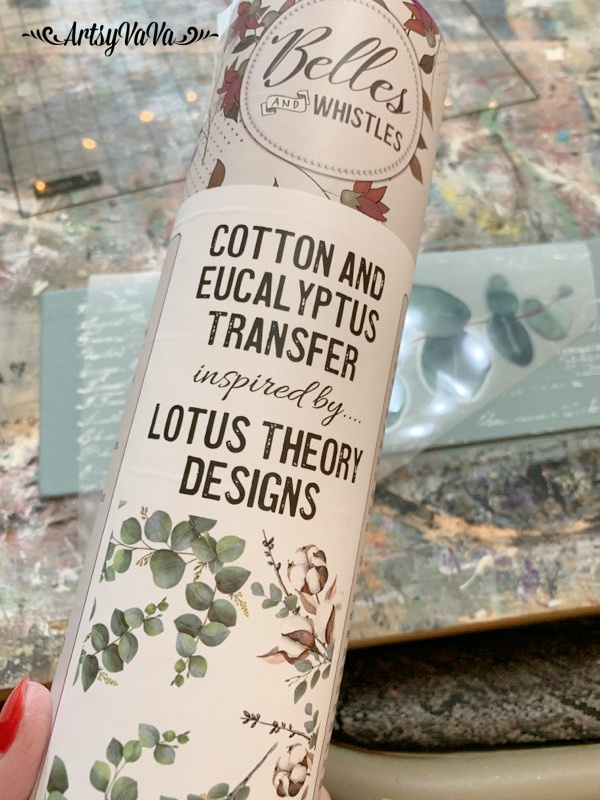
The transfer comes with 4 sheets & multiple designs. I started with a sprig of eucalyptus. I cut out the section that I wanted to use, removed the white backing, then used the tool included in the package to rub the transfer onto the canvas.


Then I added some cotton, overlapping it with the eucalyptus.


I glued the canvas panel to the center of the basket using E6000.

I formed some Spanish moss from the Dollar Tree into a nest, added some eggs, then glued it into the corner of the basket.


I'm excited to incorporate this piece into my Spring decor.


Linking To:

Sunday, February 12, 2023

Slikscreen Stencil Valentine

 I love it when an experiment turns out how I envisioned. This is one of those projects. Unfortunately, there are plenty that didn't. But, that's how you learn, right?

This project not only worked out how I wanted, but was super easy & quick!

I love working with the air dry Modeling Material from Re*design With Prima. Typically, I use it with their molds. But, in this case I wanted to create hearts & didn't have a heart shaped mold. I did, however, have heart shaped cookie cutters.


After rolling the modeling material out with a rolling pin, I cut 2 different sizes of hearts with my cookie cutters.
Another of my favorite things to work with are the Silkscreen Stencils from the Dixie Belle Paint Company. For this project I chose the Mandala design. Each pack has 3 different sheets of designs.


 The screen helps prevent the paint from bleeding under the stencil so you get a crisp image. But, I had no idea how it would work doing it on the modeling material while it was still soft.
I placed the sticky side of the stencil on the heart, then scraped on the chalk mineral paint color, Peony, from Dixie Belle.

When I peeled up the stencil, I was excited to see that it worked perfectly.


Now my mind is spinning with all the ways to use these. I have them on the table riser on my kitchen table. But while soft, they could be glued onto candles, vases, artwork...

The possibilities are endless!


Linking To:

Friday, February 3, 2023

Mixed Media For Valentines Or Anytime

 What do you think of when you think of Valentine's Day? For me, it's flowers & candy. This mixed media project includes flowers, but not candy... I'm on a diet! And, the colors make it perfect to keep displayed year round.


I started by painting a 10" x 7" wooden heart with the color Fluff from the Dixie Belle Paint Company.

I cut a piece of decoupage tissue paper from Re*design With Prima, called Zoey, to fit across the top of the heart. I applied the tissue paper to the heart using Dixie Belle's Clear Coat, but you could use ModPodge.


I used a 120 grit sandpaper to remove the excess paper. I placed the sandpaper at a 45 degree angle to the edge of the heart & used a downward motion to sand off the paper.


I stenciled a design on the rest of the heart using the color, Gravel Road. I like to use a makeup wedge to stencil. I off loaded most of the paint to prevent the paint from bleeding under the stencil. I could've added a second coat to get good coverage, but I wanted more of an irregular, worn finish.


I added two greenery stems, from Prima, by putting a little glue at the base of the stems. 


I placed a floral cardboard sticker at the top of the greenery. I didn't trust that the sticky back would hold, so I added some glue.

I glued two flowers onto the heart, letting them come off the edge of the heart.

I added a pretty butterfly cardboard sticker to the flowers.


I could've stopped there and it would've been fine, but let's keep going!

I added a second butterfly & another cardboard sticker that says, "Bee-you-tiful" to complete the Valentine.


You can use any colors for this project, so if you're not a fan of red & pink in your decor, you can pick colors that work for you.


Just about anything goes at my house. Can you tell I like color?


Linking To:
Related Posts Plugin for WordPress, Blogger...