Sunday, December 11, 2022

Easy Cardinal Christmas Sign

There is a saying, "When cardinals are near, angels are here." And, I believe it because every time I see one I think of my mother. Even if she's not here, the cardinals evoke sweet memories of her. She loved them so much. And, I don't know anyone who doesn't love a beautiful cardinal!

The beautiful red color of the male cardinal makes them perfect for Christmas decor. And, this sign is about as easy to make as they come.

I got this stained board from Michael's & the wooden letters from Hobby Lobby.

I wanted a rustic look for the sign, so I used a dry brush technique to paint the board. I used the color Sawmill Gravy from the Dixie Belle Paint Company & let some of the stain show through.

I'd love to be able to say that I hand painted the beautiful cardinal. But the cardinal, pinecones, greenery, & berries are one of the designs in the Evergreen & Holly transfer from Dixie Belle. The transfer contains 4 sheets with multiple designs on each sheet.

You simply remove the white backing, then rub over the design until it releases from the clear top sheet.


I used tacky glue to add the letters to the board. I chose to leave them natural, but they'd also be pretty painted red or green, or stained a darker color.


Wow! That was easy. And, quick!


Another easy project... I added a holly design from the evergreen & holly transfer sheets to a battery operated candle. A simple way to take a plain candle to festive decor.


Linking To:

Monday, November 28, 2022

Freshening Up The Florentine

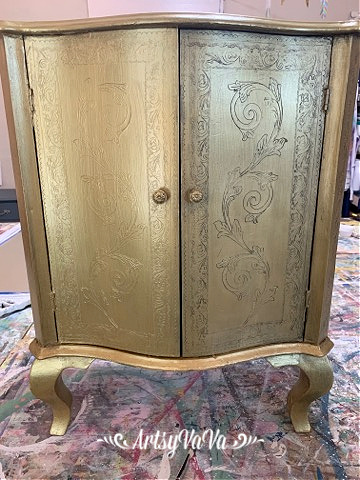
 When I first saw this little Florentine cabinet, I envisioned it painted with a beautiful coral color. Instead, I decided it needed to remain gold, & just needed to be freshened up.


The cabinet was stained & had parts where the gold was worn off.


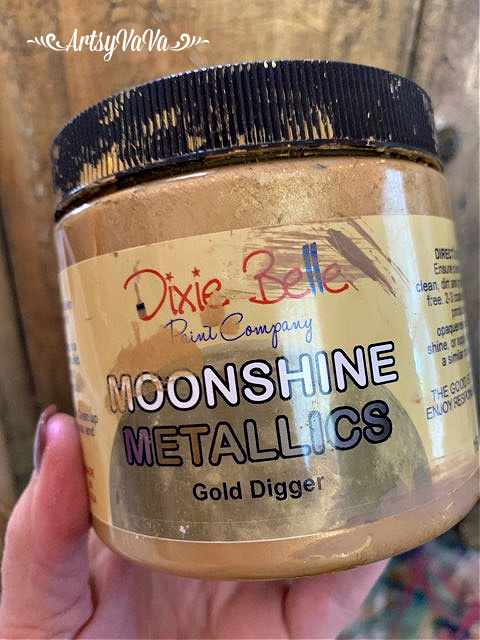
I cleaned the cabinet well with Dixie Belle's White Lightening, then painted it with the color Gold Digger.


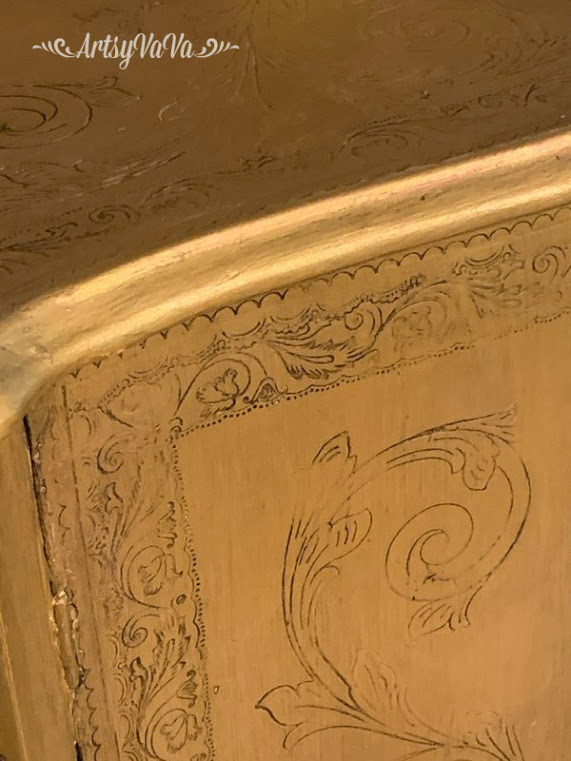
The gold alone was beautiful, but I wanted the detail to stand out. I first added clear Best Dang Wax by Dixie Belle to the entire cabinet using a rag to apply. Then I used a wax brush to add black wax to the detail, then wiped it back leaving the black wax in the grooves. Adding clear wax first makes it easier to remove the black where from areas where you don't want it.


This photo shows the difference that the wax makes...


I let the wax cure for a few days, then added Apricot Chameleon Wax. This wax looks different depending on the color you put it over & you only see it when light hits it a certain way. In this case, the chameleon wax gave a subtle, pretty pink shimmer.


This Florentine got the freshening up that it needed!


Linking To:

Sunday, October 9, 2022

My Version Of The Popular Dollar Tree Pumpkin

 To whoever originally came up with this idea, you're a genius!

When I saw this project on Pinterest I had to give it a try. And, I knew that Dixie Belle Paint Company's new clay based paint, Terra, would be the perfect product to use.

Looking at it, it looks like old tin. But, surprisingly, this project uses a Dollar Tree cardboard pumpkin & a peel & stick plastic tile, also from the Dollar Tree.


I removed the bow, then laid the pumpkin face down on the back side of the tile, traced around it, then cut it out.
The sticky part of the tile is only around the edges, so I glued the cut out tile onto the pumpkin base using E6000.

In the end, the pumpkin is white, but I wanted some color to show through. I used 3 colors of Terra to paint the pumpkin... Blue Agave, Cerulean Blue, & Galaxy.


Once dry, I sealed the paint with Terra Seal. Terra Clay Paint reactivates with water. So if I didn't seal it, it would blend with the white that I was painting over the top.


Once the Terra Seal was dry, I painted the pumpkin with the color, Prairie Dawn.


When the paint was dry, I used a damp rag to wipe away the paint from the raised areas on the tile, exposing the colors underneath.


To finish it off, I added a "messy" bow to the top of the pumpkin. I used different ribbons & a little Spanish moss.


 I added some wooden beads on twine to hang it.


This was such a fun project.
It really does look like tin. And, no one will know if you don't tell them!

Linking To:

Tuesday, September 6, 2022

Western Tapestry Caddy

When a friend shared this little caddy that her brother made, I had to have some! I knew they'd be perfect for some of the classes that I teach at Junk Mama's General Store.

There are so many options for transforming this blank "canvas". For the first one, I started off painting it with the color Caviar from the Dixie Belle Paint Company. 

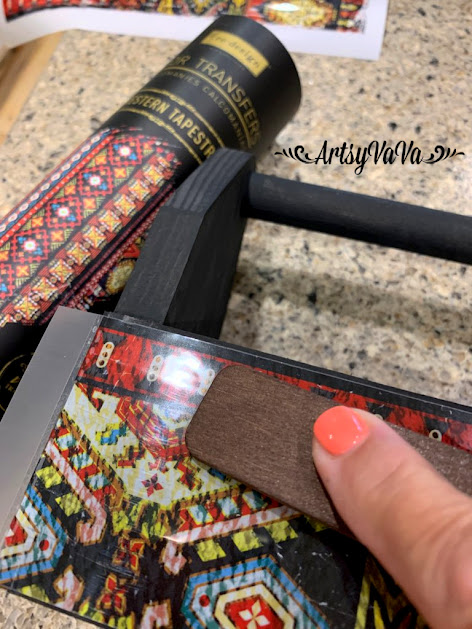
Once the paint was dry, I added the Western Tapestry transfer from re*design With Prima, to the front & back of the caddy.


I then painted three small jars with the color Honky Tonk Red.


To accentuate the detail on the jars & age them a little, I added Black Gilding Wax. I simply rubbed it on with my finger.


The jars fit perfectly in the caddy.


There are so many things I can use the caddy & jars for... flowers, pens, pencils, paint brushes, etc. I entertain quite a bit, & the jars are perfect for silverware!


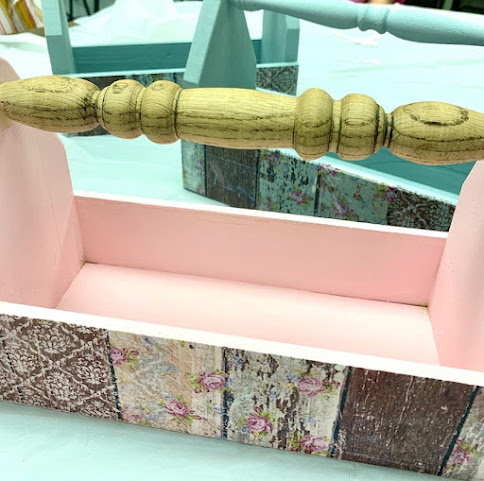
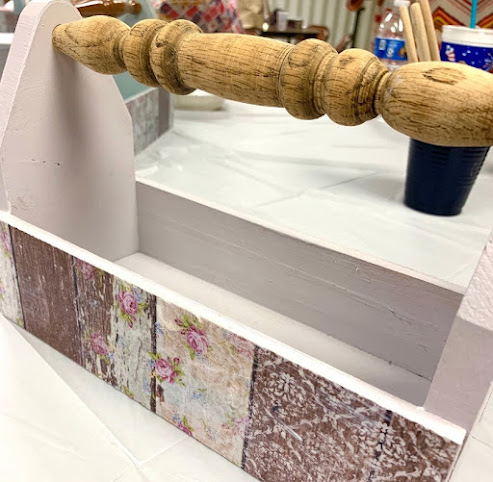
For another caddy, I added my favorite decoupage rice paper from the Dixie Belle Paint Company, Pallet Wood Pattern...

  
I used the Pallet Wood Pattern rice paper while teaching a class for a group of 13 ladies at a church in a neighboring town.
The paper is somewhat sheer & each caddy looked completely different depending on the paint color used...


Have you tried transfers and/or decoupage rice paper? Both are easy to use & add a beautiful design element to your projects.


Linking To:
Related Posts Plugin for WordPress, Blogger...