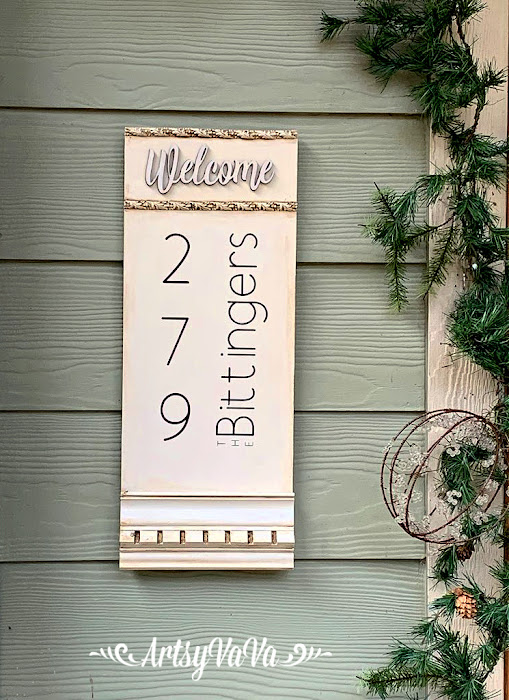
I am fortunate to know a few people in the construction business who give me things before they go on the burn pile. Sometimes the fire is already lit & I have to act fast! Recently I was given some beautiful old molding that came out of a house before a remodeling job. It was perfect for creating my new house number sign.
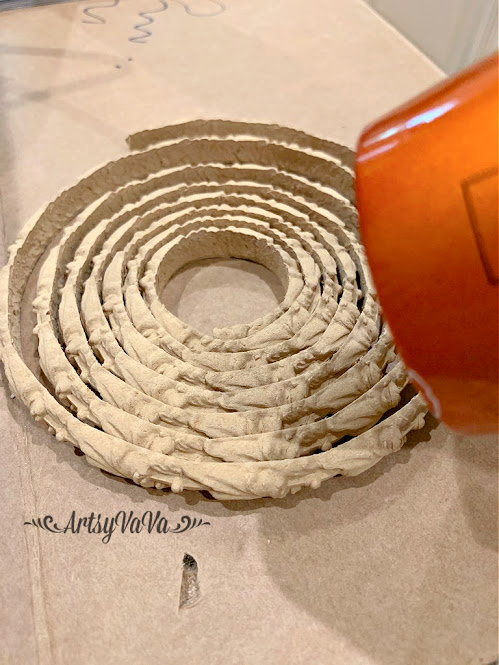
I cut the molding to get a piece that was 8" long, then glued and clamped it to an 8" x 20" sign blank from Signopoly. I allowed it to dry overnight.I grabbed some of my WoodUBend trim to add to my sign. The trim is very brittle, but once you add heat to it, it becomes flexible.You can use a heat gun on the WoodUBend, but it also works well with a hair drier. I put my hair drier on the HOT setting & warmed the trim until it was pliable.
Using an Xacto knife, I cut two sections of the trim to fit across the sign.
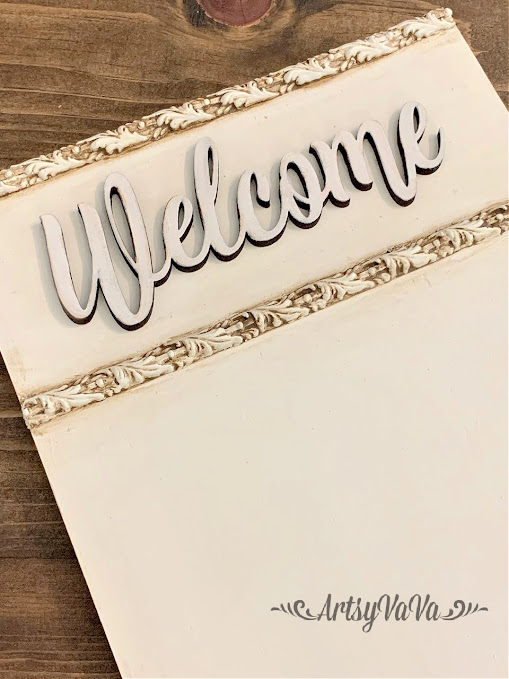
I glued them onto the board using E6000.
I painted the entire piece with the color, Fluff, from the Dixie Belle Paint Company. I did 2 coats for good coverage.To accentuate the details of the trim & molding, I added Dixie Belle's glaze using the color, Van Dyke Brown. I painted the glaze on heavy to ensure it got down into all the grooves of the trim & molding.
I used a damp rag to wipe away the excess glaze.
I added more glaze to the board so there wouldn't be such a stark contrast between the "dirty" trim & bright white board.
I painted a wooden "Welcome" from Signopoly with the color, Fluff. The laser cutter leaves the edges of the cutout dark. I was careful not to paint over the edges so I would have the contrast between the welcome & the board. I glued the welcome onto the board between the 2 pieces of WoodUBend trim using E6000.
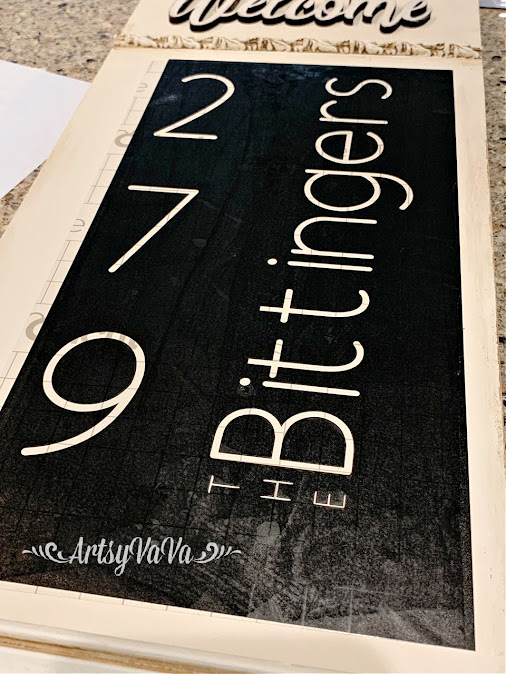
I made a vinyl stencil using my Cricut Maker.
These stencils work great, but for added protection from paint bleeding under the stencil, I added Dixie Belle's Clear Coat. This creates a barrier to prevent bleeding.
Once the Clear Coat was dry, I used a makeup wedge & the color, Coffee Bean to paint over the stencil. I did 3 thin coats using a pouncing motion.
Now there's no question whether you are at the right house or not!
Linking To:
Ginger Snap Crafts, Chic On a Shoestring, Simply Sweet Home, The Cottage Market, Funky Junk Interiors, The Dedicated House, Sugar Bee Crafts, Flour Me With Love, Domestically Speaking, The Answer Is Chocolate, Skip To My Lou, The Thrifty Home, Flutter Buster, The Foley Fam, Finding Silver Pennies, Our Hopeful Home, My Thrift Store Addiction, The Painted Hinge, Yesterday On Tuesday, Confessions Of A Plate Addict, My Uncommon Slice Of Suburbia, Dabbling And Decorating, Creatively Beth, My Hubbard Home


